Project 2: Fun with Filters and Frequencies
Part 1.1: Finite Difference Operator
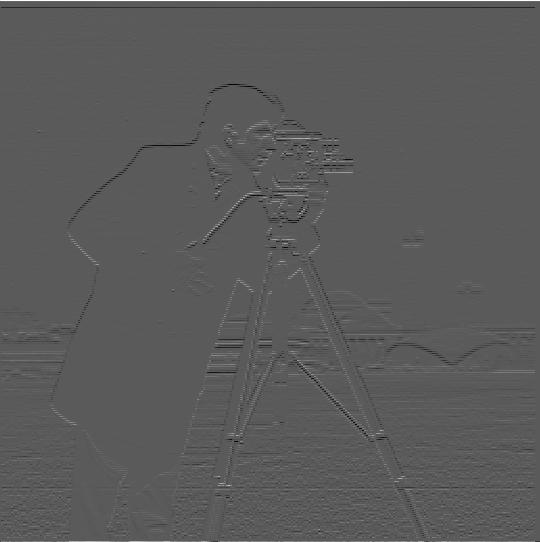
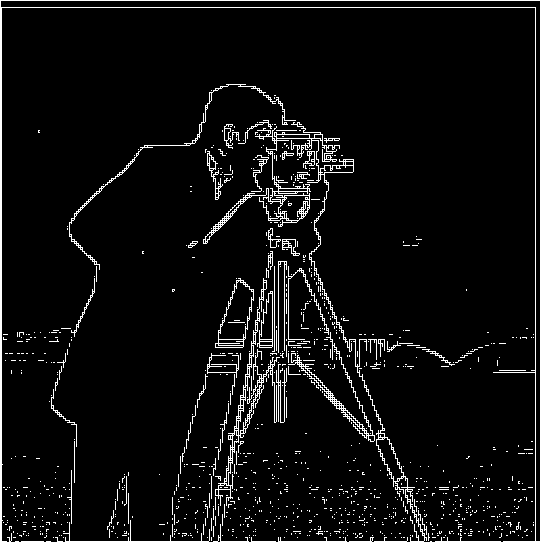
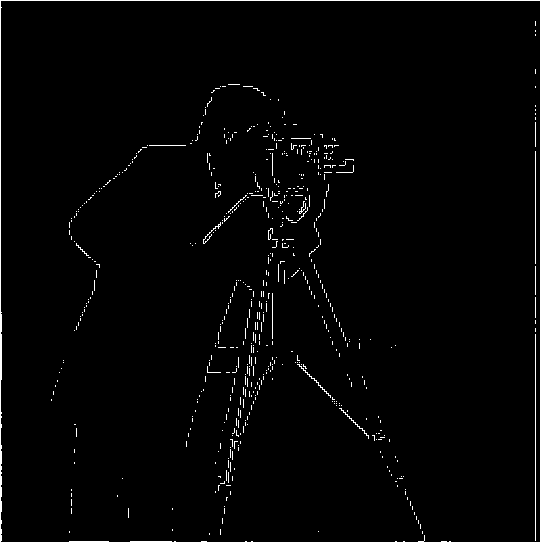
We can use the finite difference operators and to filter in the x and y directions. The gradient magnitude is
The gradient magnitude finds the rate at which pixels change in the image.
Part 1.2: Derivative of Gaussian (DoG) Filter
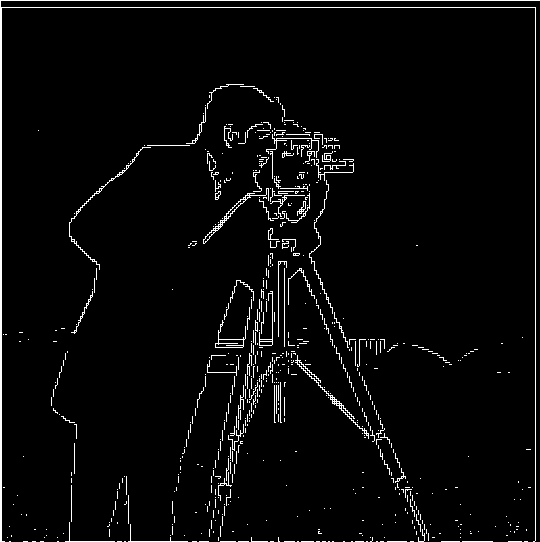
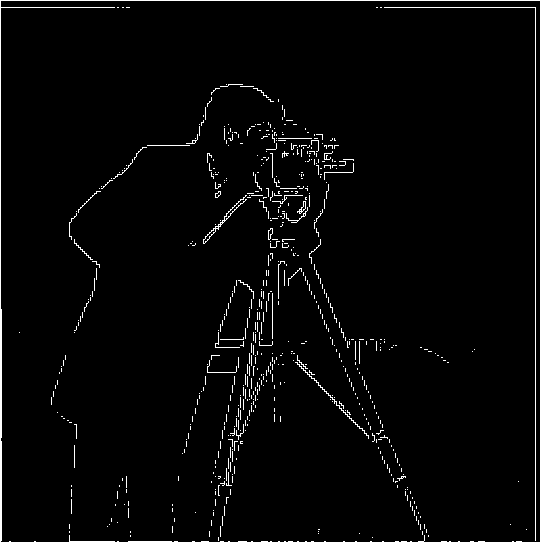
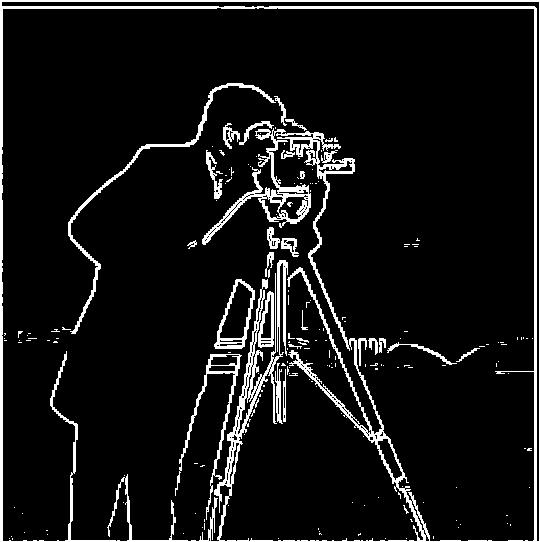
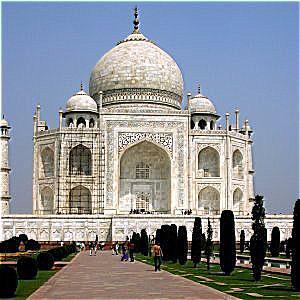
The Gaussian filter eliminates a significant amount of noise that was previously present in the combined gradient image with threshold=0.1. The edge detection is more accurate since the Gaussian filter keeps low frequency information and removes high frequency information.
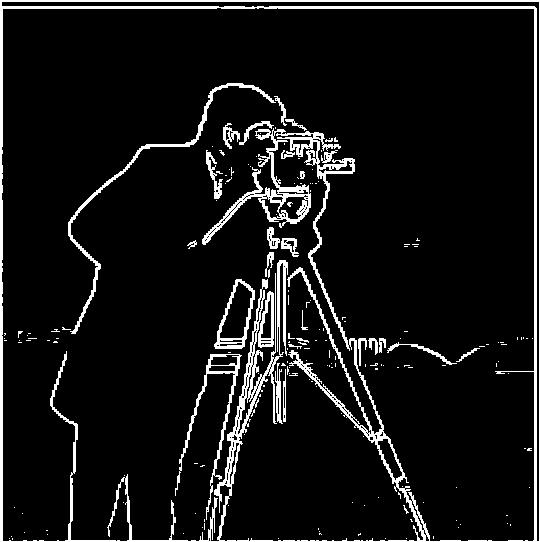
The combined gradient convolved with the Gaussian filter and the derivative of the Gaussian filter are basically the same image.
Part 2.1: Image "Sharpening"
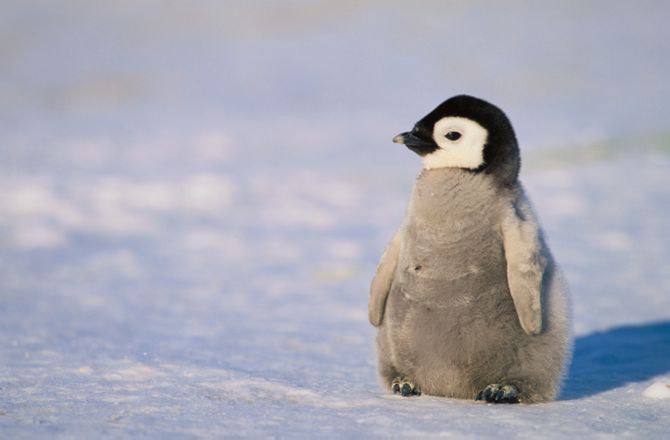
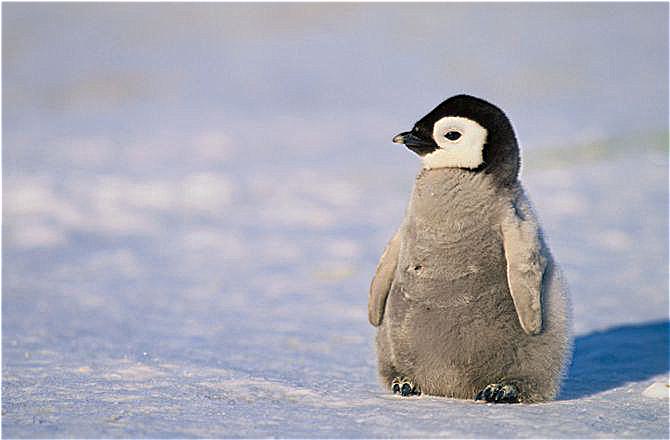
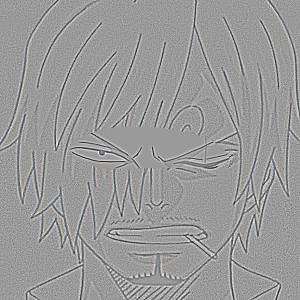
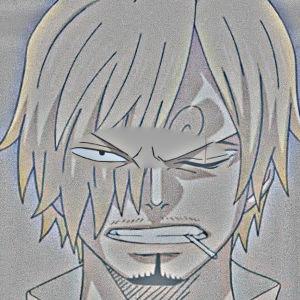
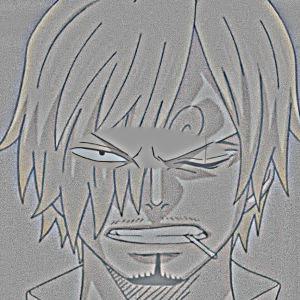
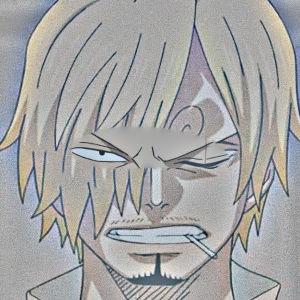
We can calculate a sharpened image with the following formulas. Let be the original image, be the high frequency component, be the low frequency component, and be the sharpened image. is a constant that increasingly sharpens the image.
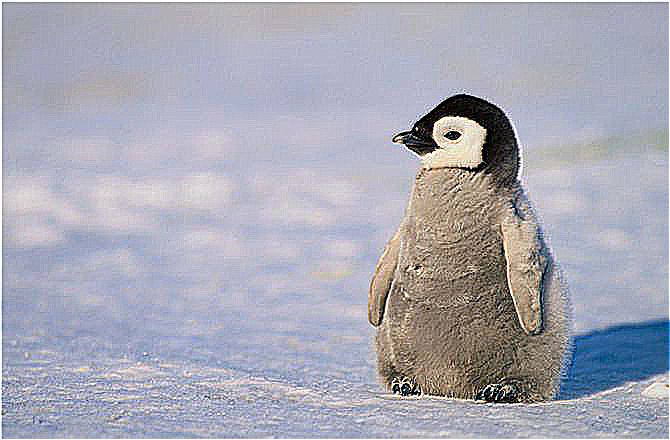
Blurring the sharpened image and then sharpening again results in a very sharpened image with a significant amount of more details than the prior two images.
Part 2.2: Hybrid Images
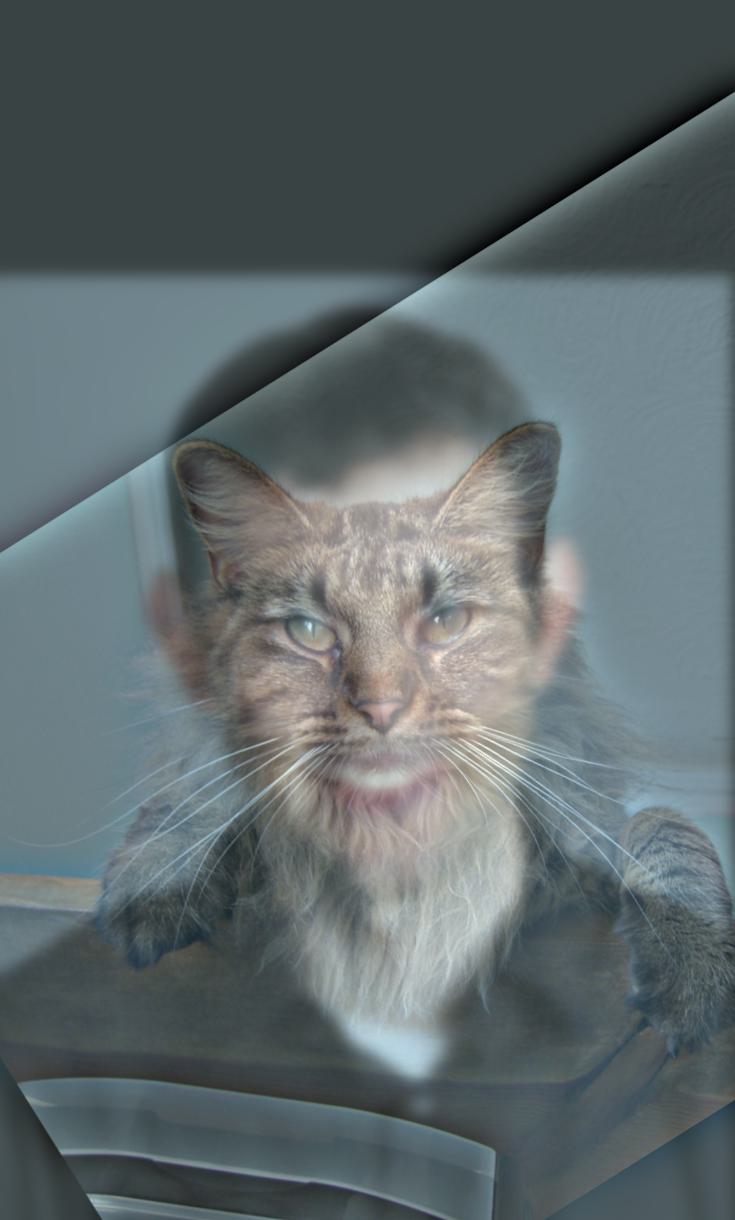
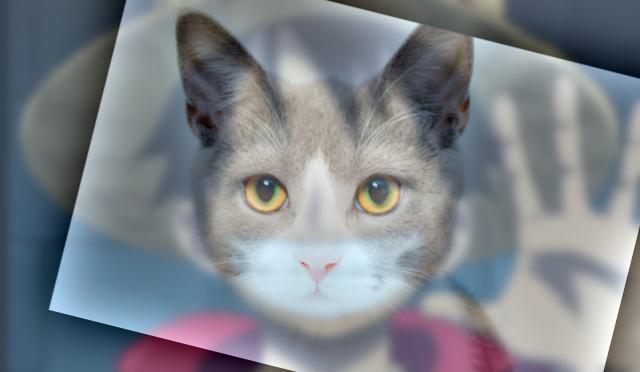
To create hybrid images, we can use low frequencies and high frequencies of images to change how we see an image depending on how close or far we are from it.
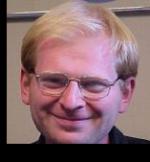
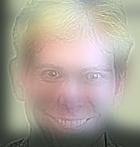
As I began testing out other images, I quickly recognized that the kind of images I picked were important. For example, merging Prof. Denero and Prof. Efros was a failure since these two images had different facial expressions and the two professors have significantly different facial features. I then knew I had to get images that already had vaguely similar features for a successful hybrid.
Bells and Whistles: I used color to enhance the effect. It seems that using color for both the low and high frequencies produced a significantly better quality hybrid image.
A lot of anime character designs are known to replicate cat facial features so I tried it out with One Piece’s Luffy and a cat. The hybrid is much better than the one before.
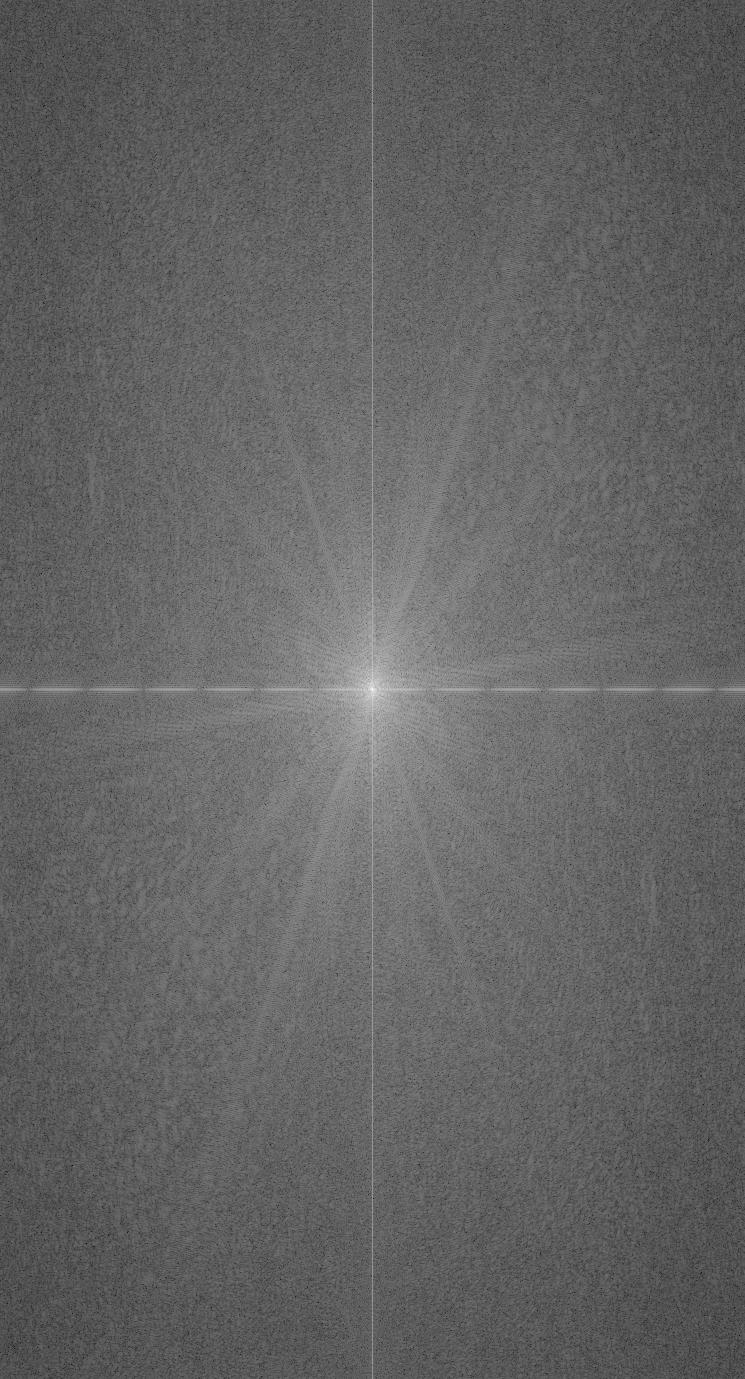
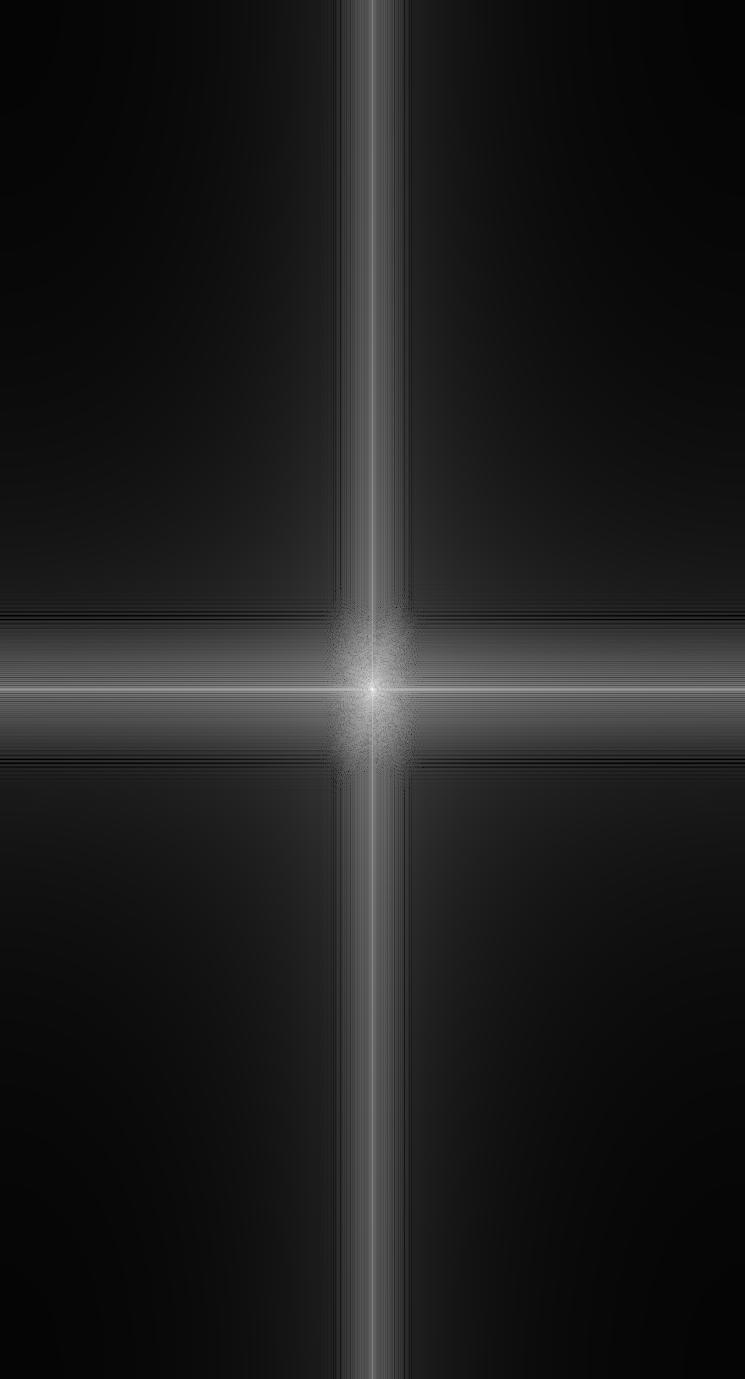
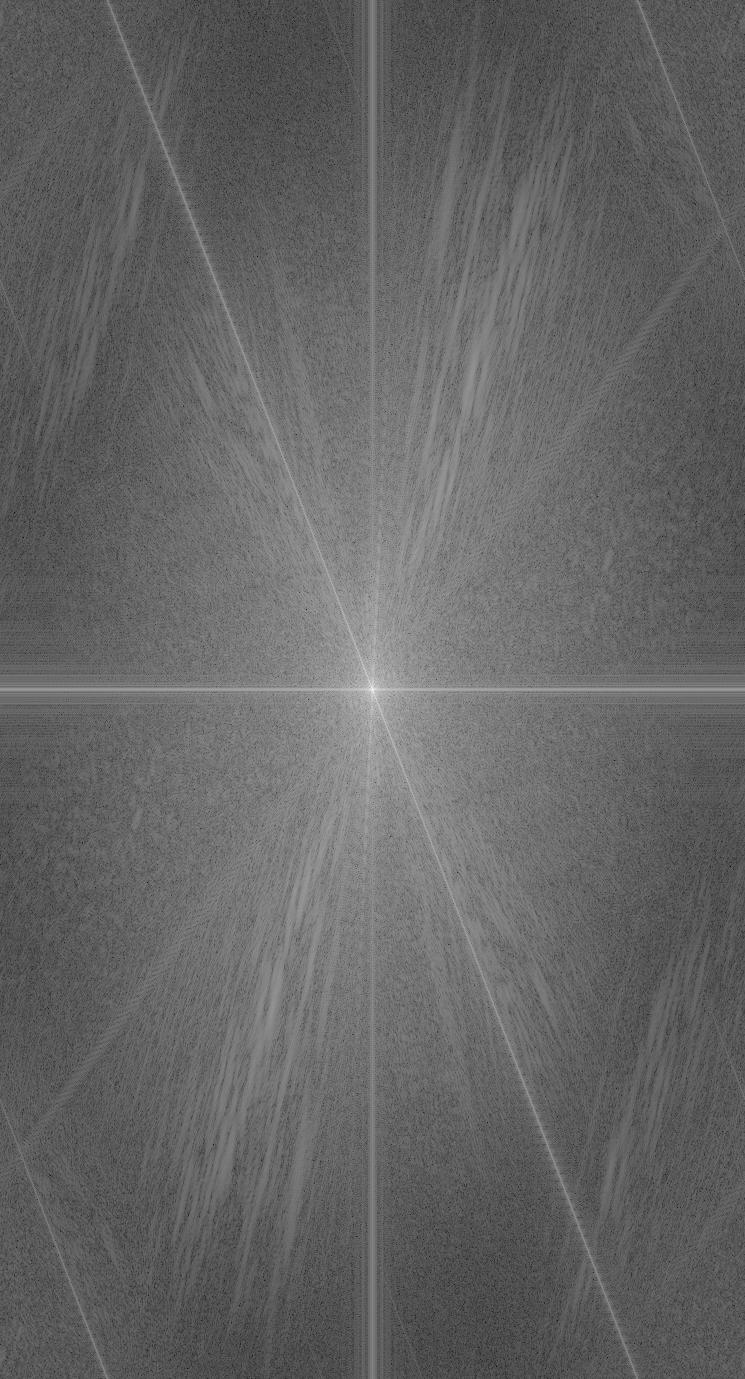
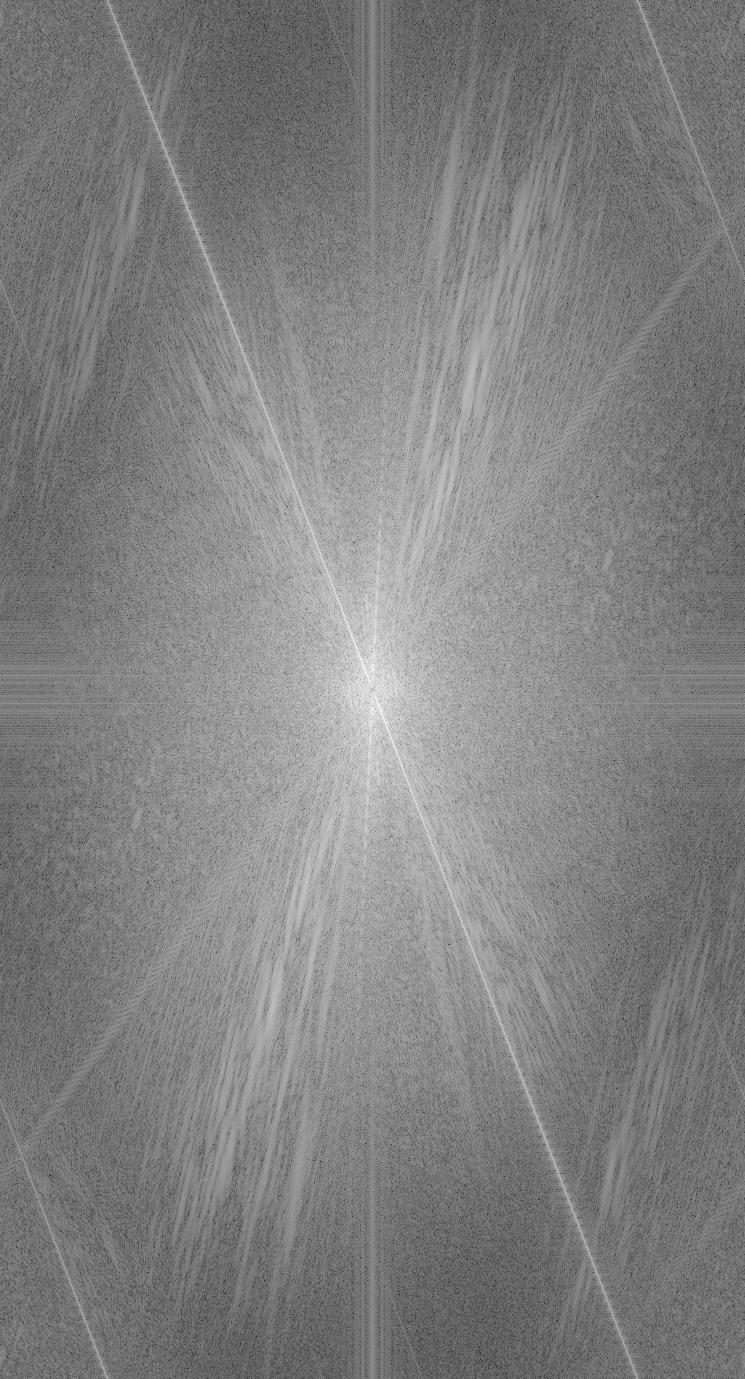
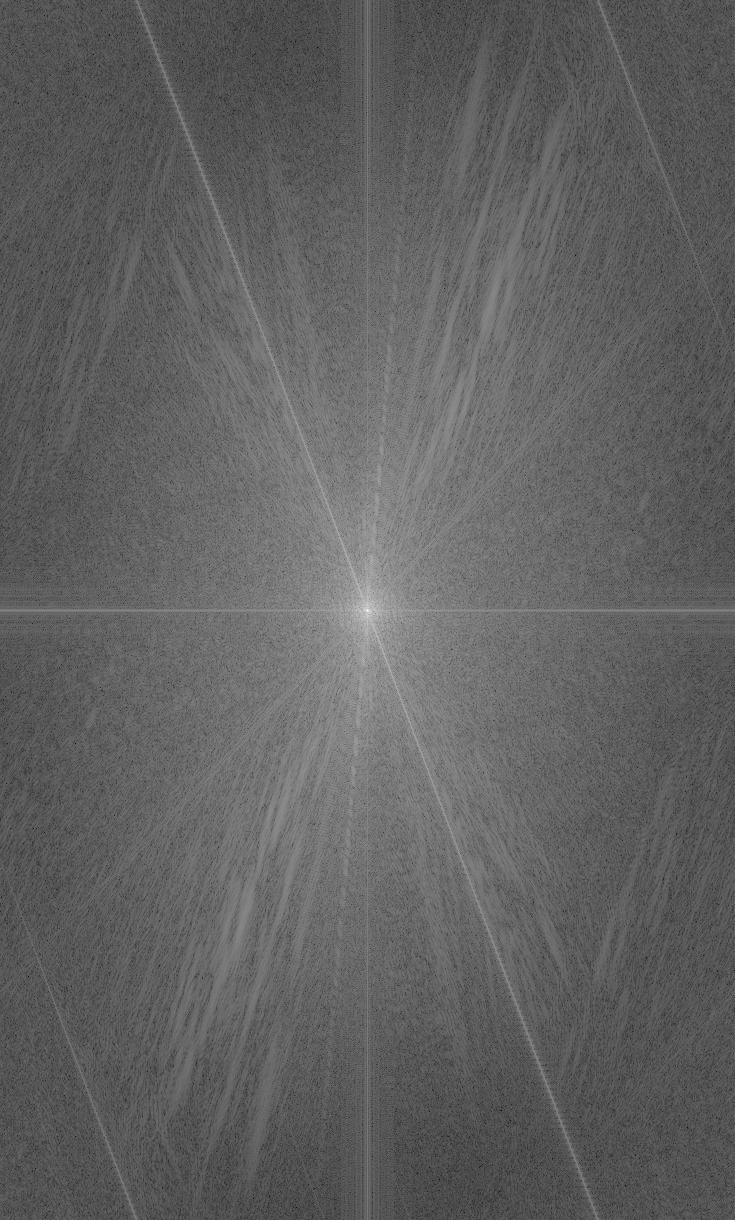
The Fourier transform helps us to visualize the frequencies within images and their hybrids.
Part 2.3: Gaussian and Laplacian Stacks
The Gaussian stack is a series of the same image continuously blurred.
The Laplacian stack is calculated from the Gaussian stack such that the ith image in the Laplacian stack is the difference between the ith and i+1th image in the Gaussian Stack.
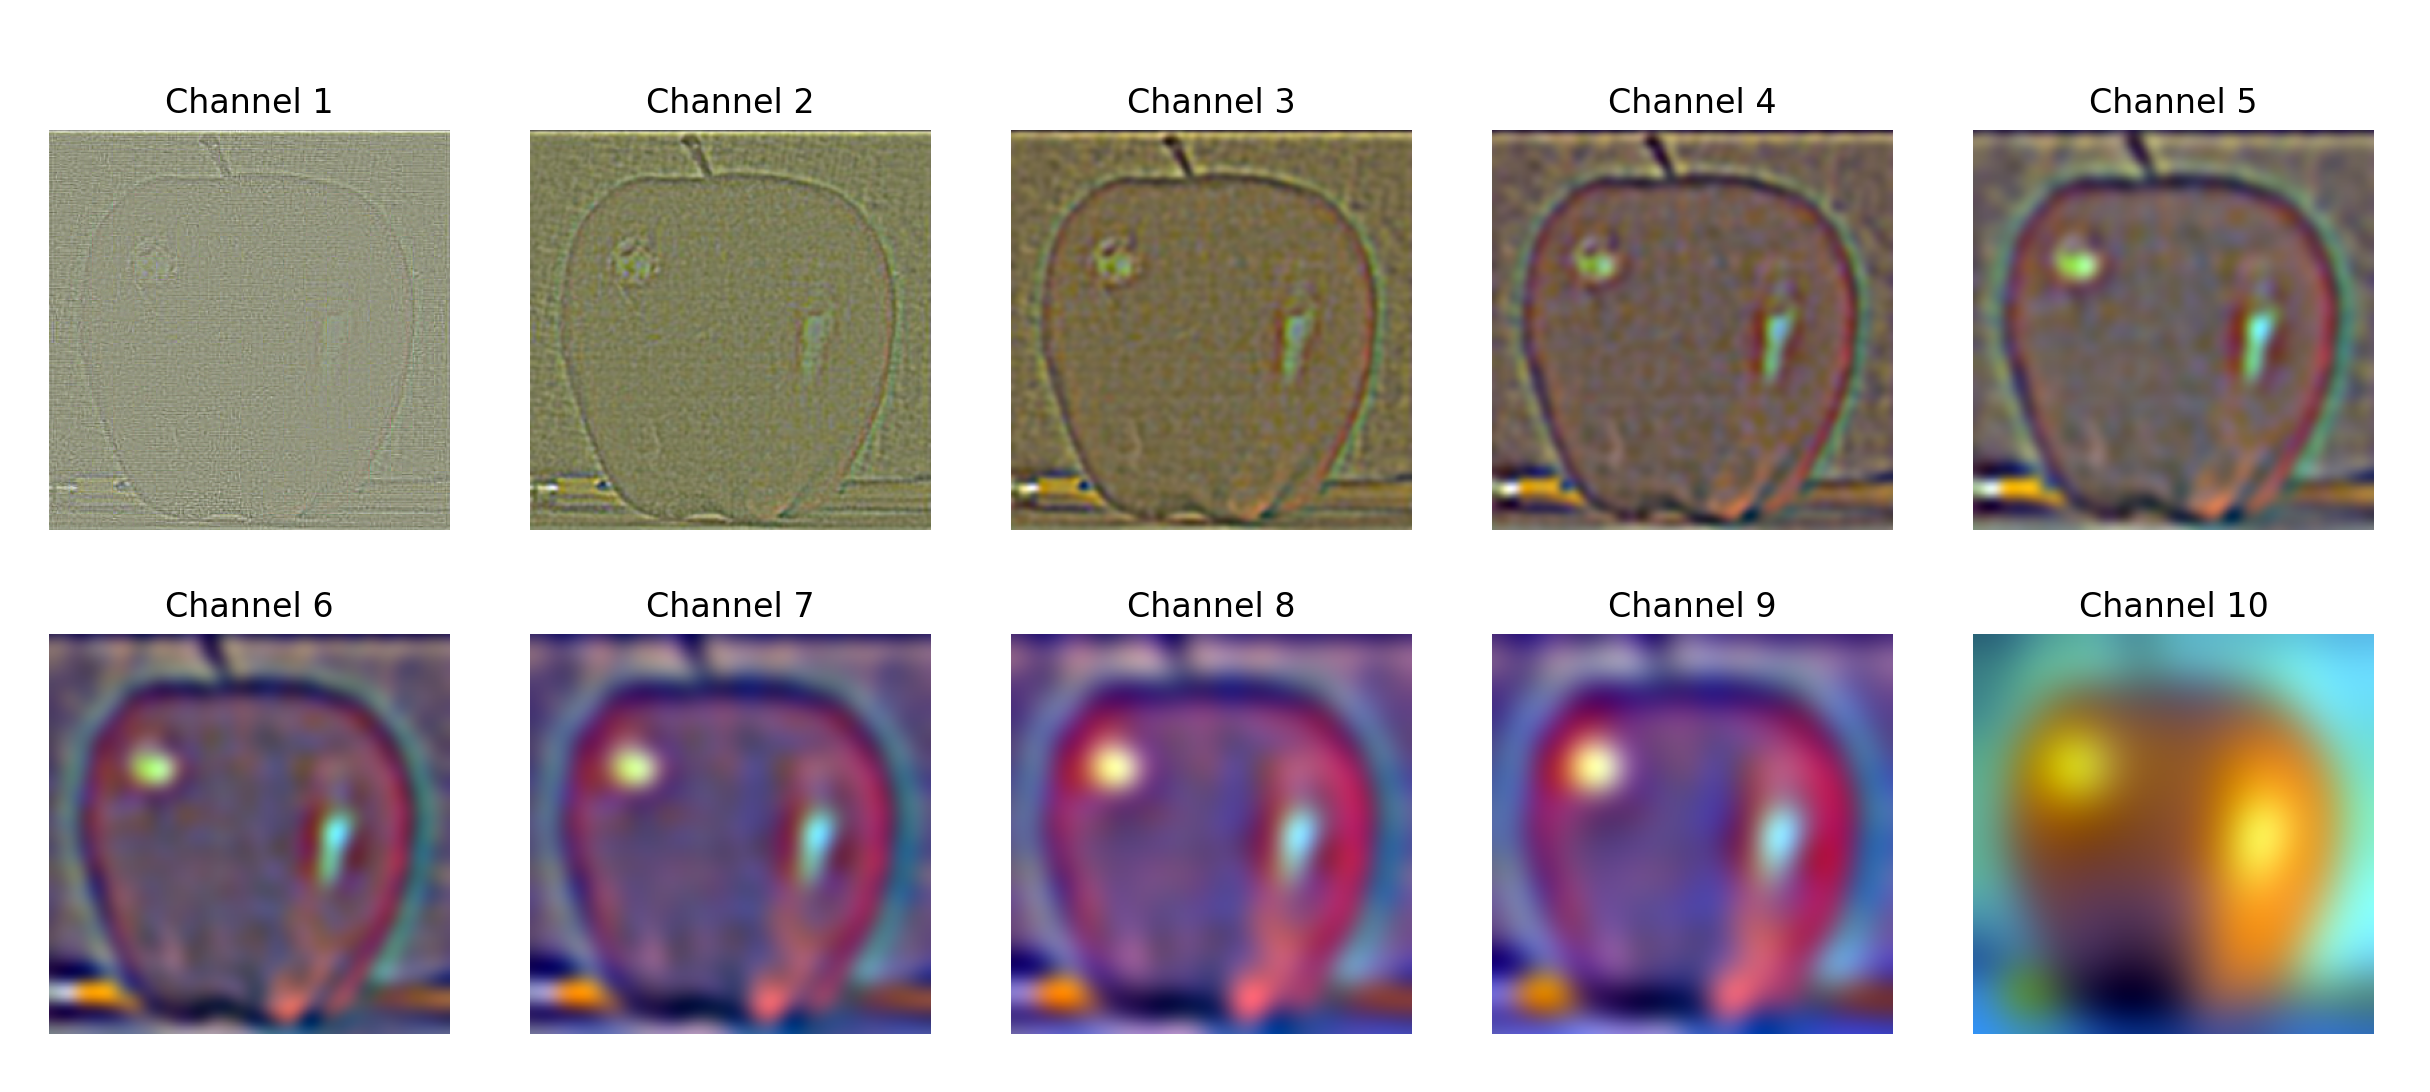
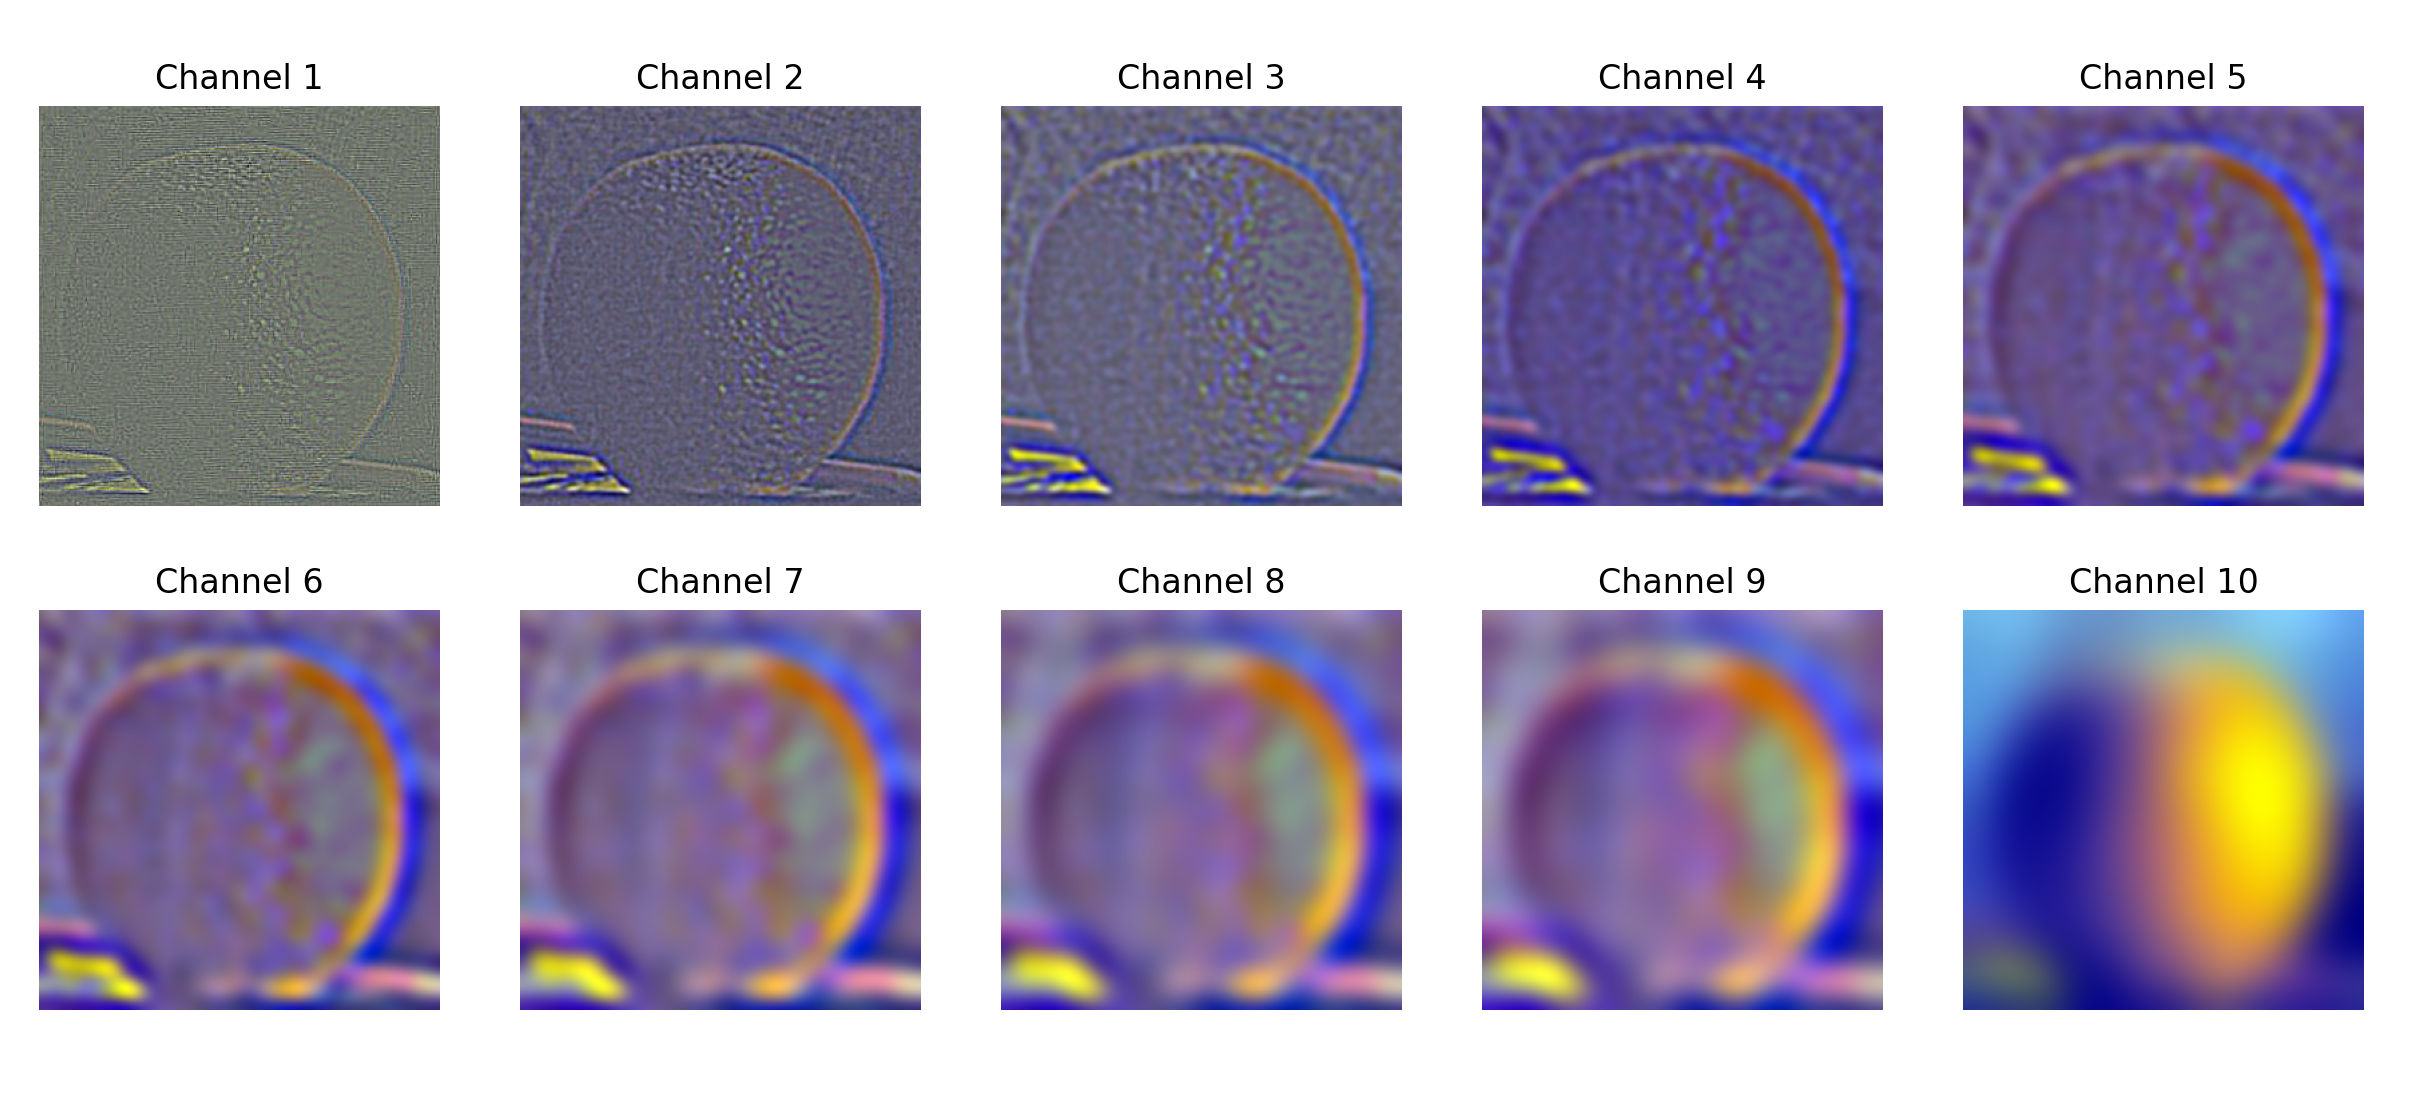
Part 2.4: Multiresolution Blending
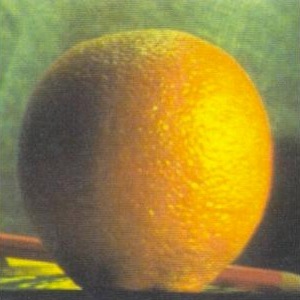
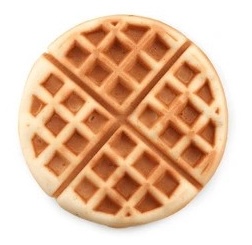
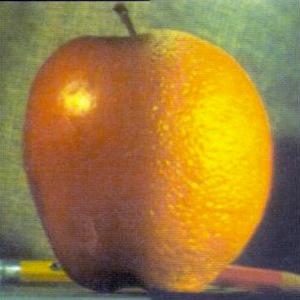
Now that we have the Gaussian and Laplacian stacks of the apple and orange, we can start blending! Blending follows this process:
- Create a mask that determines how the two images should be blended. In this case, we use a vertical mask where the left half is black and the right half is white to produce a merging effect in the center vertically.

mask for apple.jpg and orange.jpg - Make a Gaussian stack for the mask. If we did not do this, the blended result would just have a distinct divide between the two images instead of a gradual divide.
- Create a masked Laplacian stack for each of the two images.
- Sum the two masked Laplacian stacks to get the blended image.
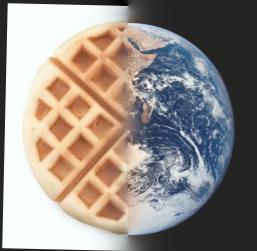
To achieve an irregular blend, I drew a simple mask that intends to get the eyes of one person and overlay it on another.


Bells and Whistles: I used color to enhance the effect of all the blended images.
Reflection
The most important/interesting thing I learned from this project was how to create hybrid and blended images. I understand now that low and high frequencies can be manipulated to create new images and even toy with our perception. I also really enjoyed learning and implementing the mathematics behind these image-processing techniques. The idea that human vision can be represented and altered with math is pretty amazing, and I’m excited to learn more in this class!

