Project 4: [Auto]Stitching Photo Mosaics
Part A: Image Warping and Mosaicing
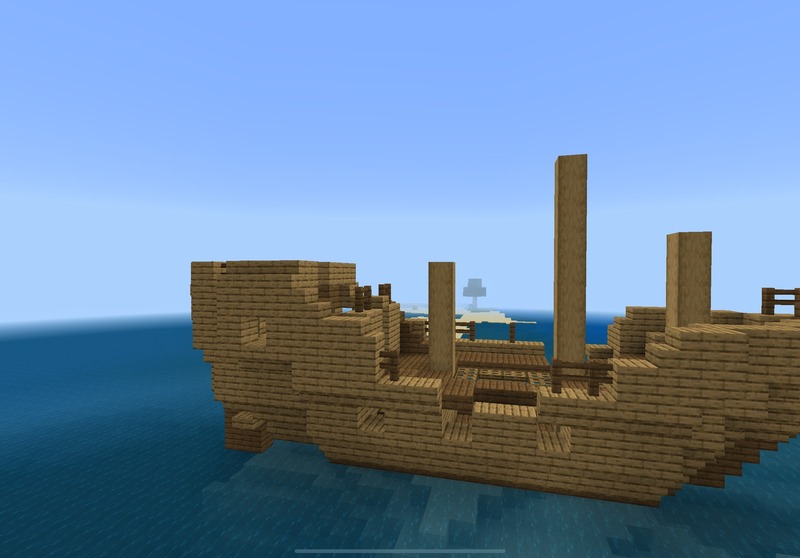
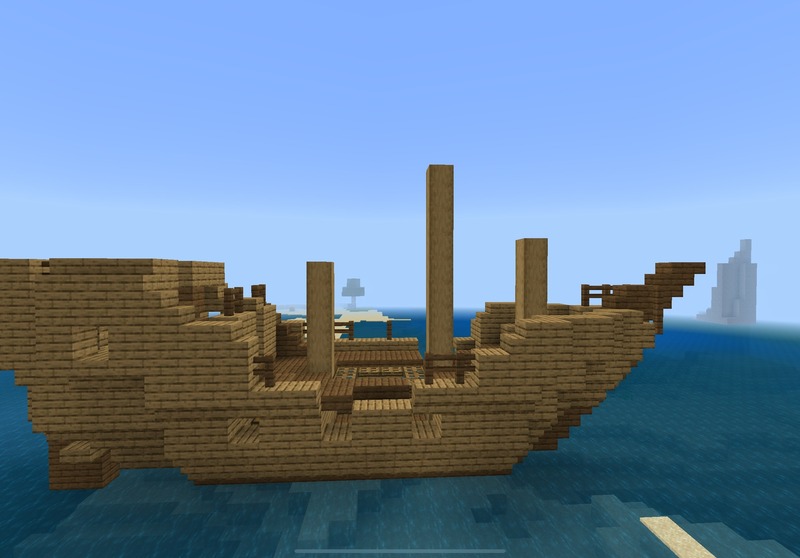
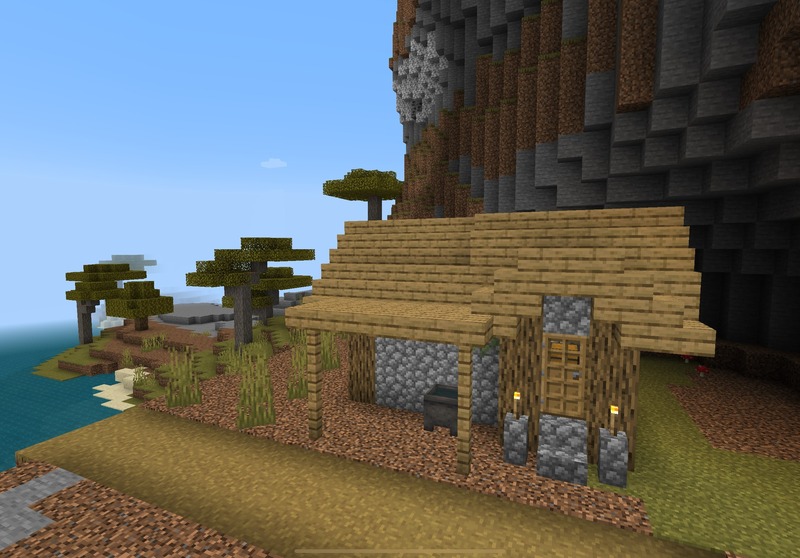
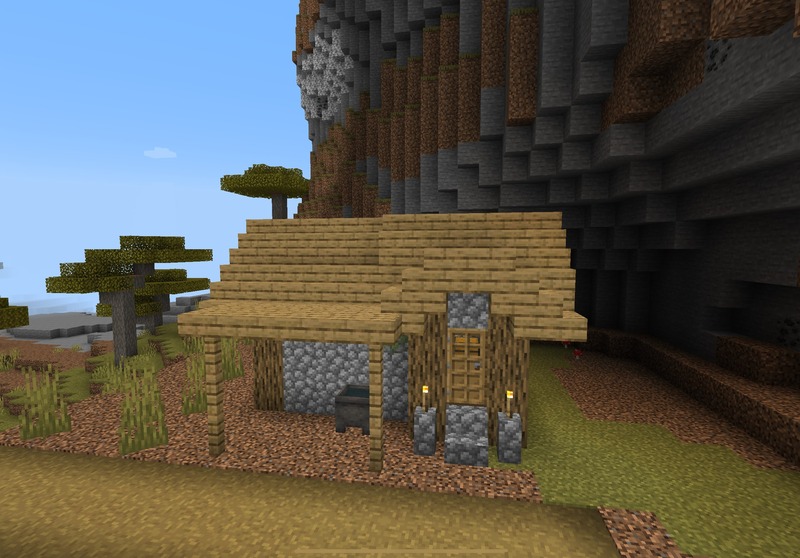
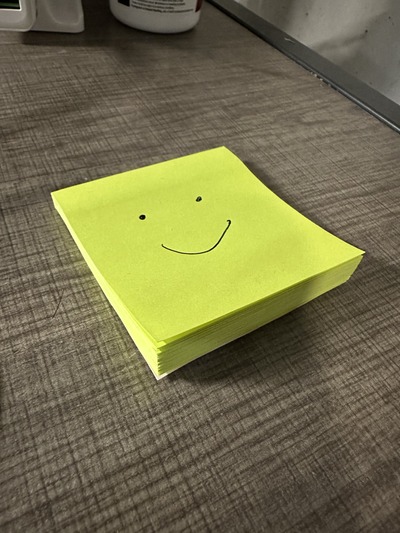
Part 1. Shooting the photos
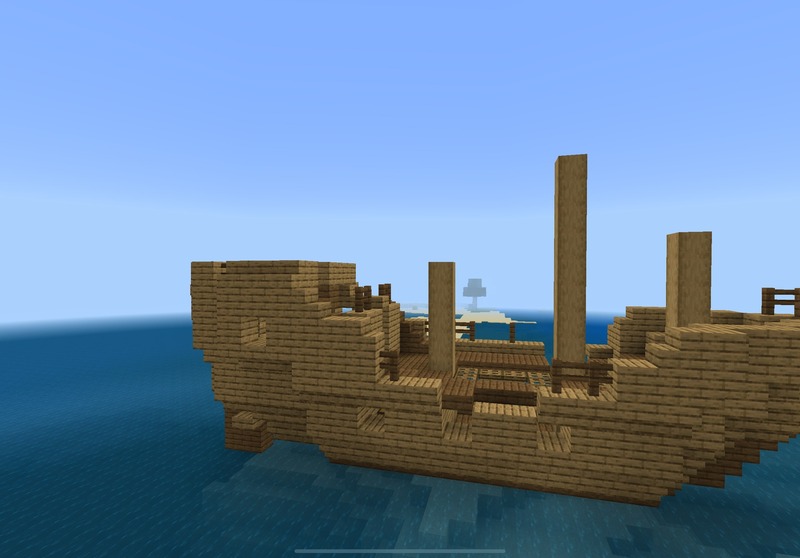
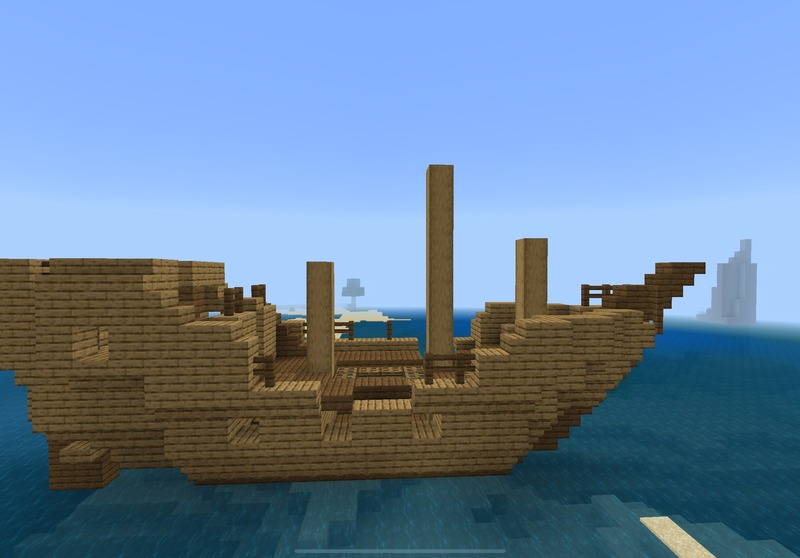
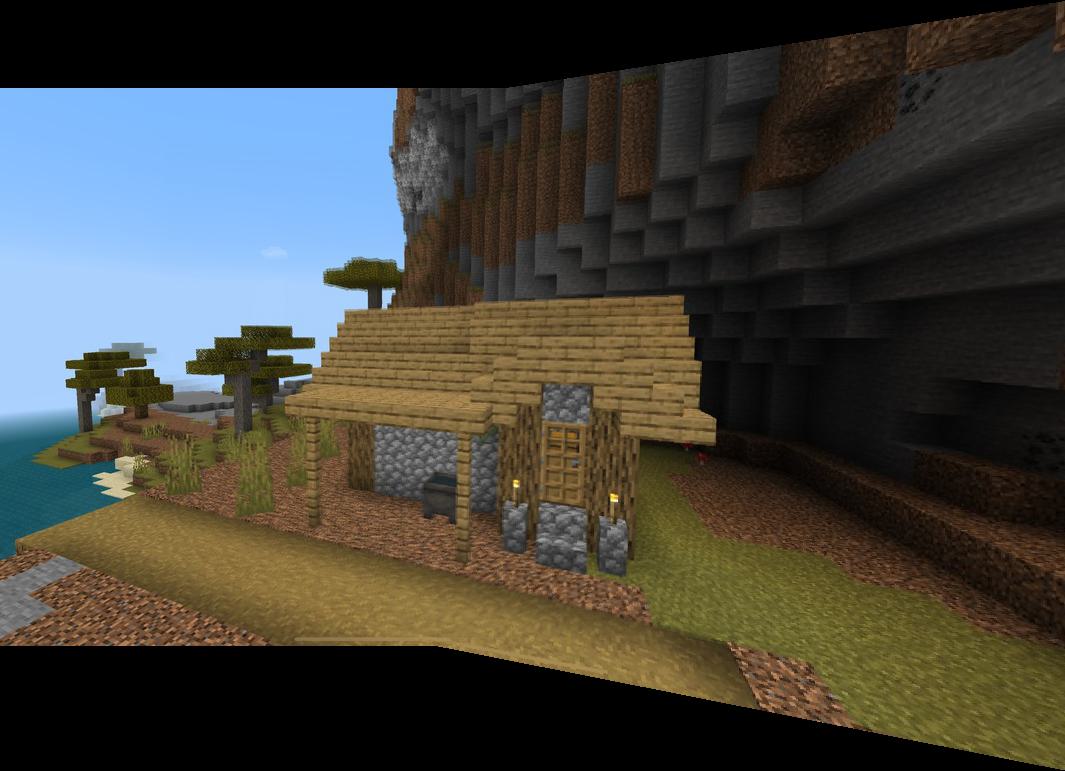
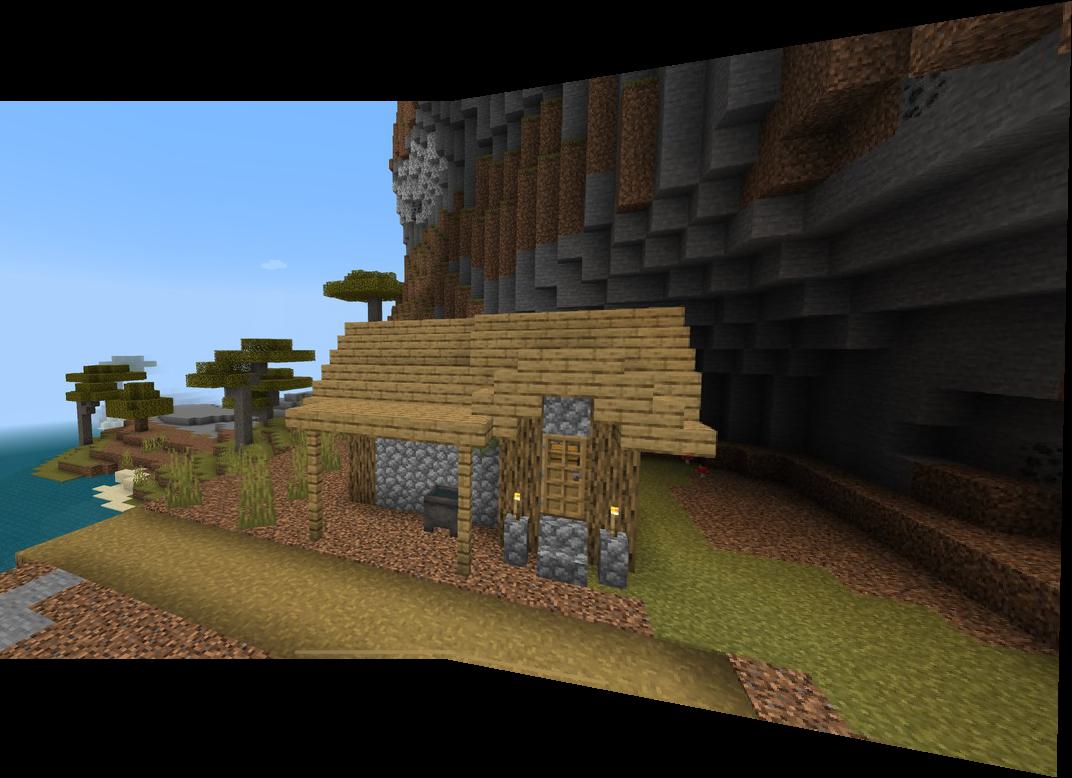
Note: The small white bar at the bottom of the Minecraft images is just the default iPad tab that appears during screenshots.
Part 2: Recover Homographies
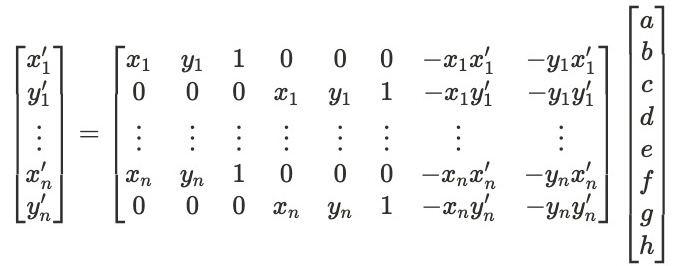
The tomography can be computed by setting up a system of linear equations and forming the matrix below. This maps the points from one image to another image.
Part 3: Warp the images / Image Rectification
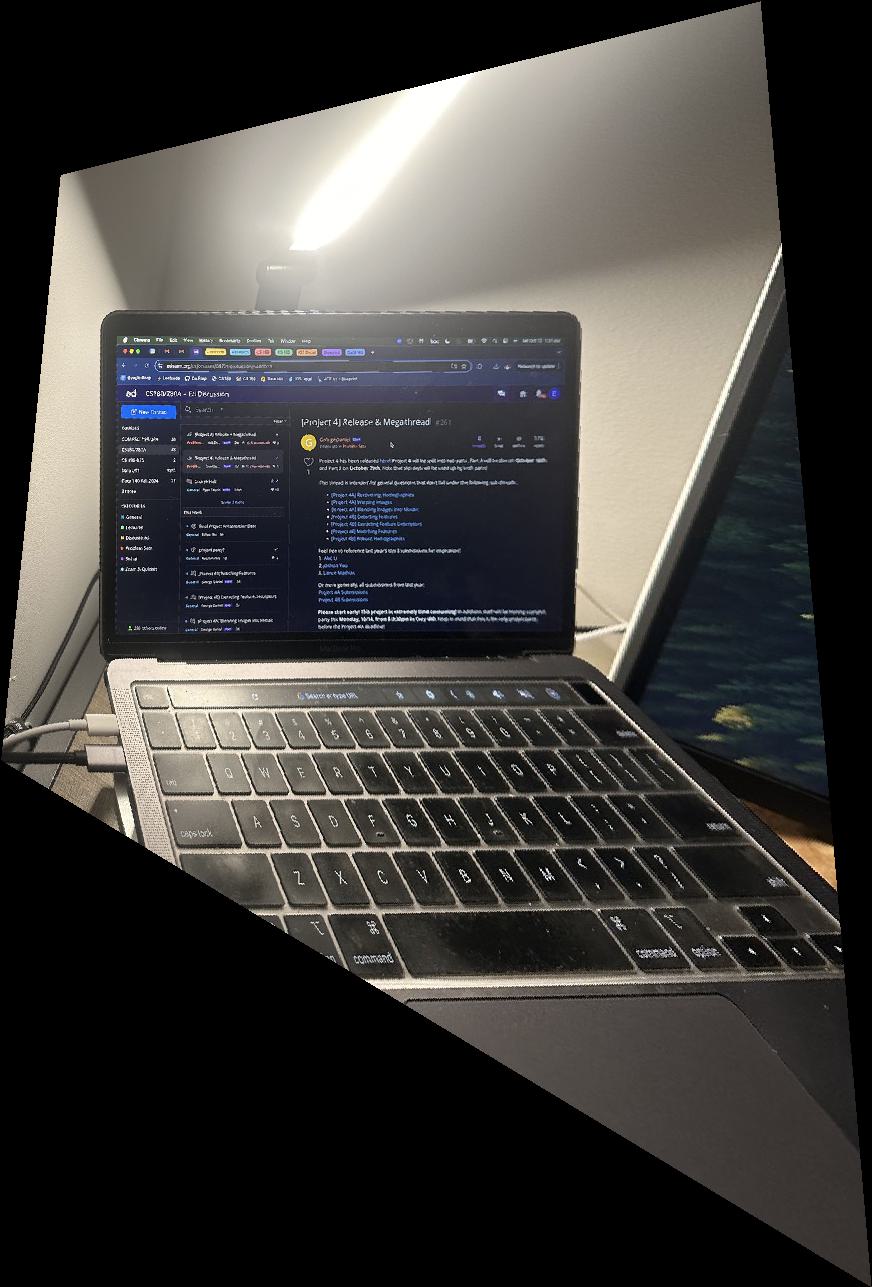
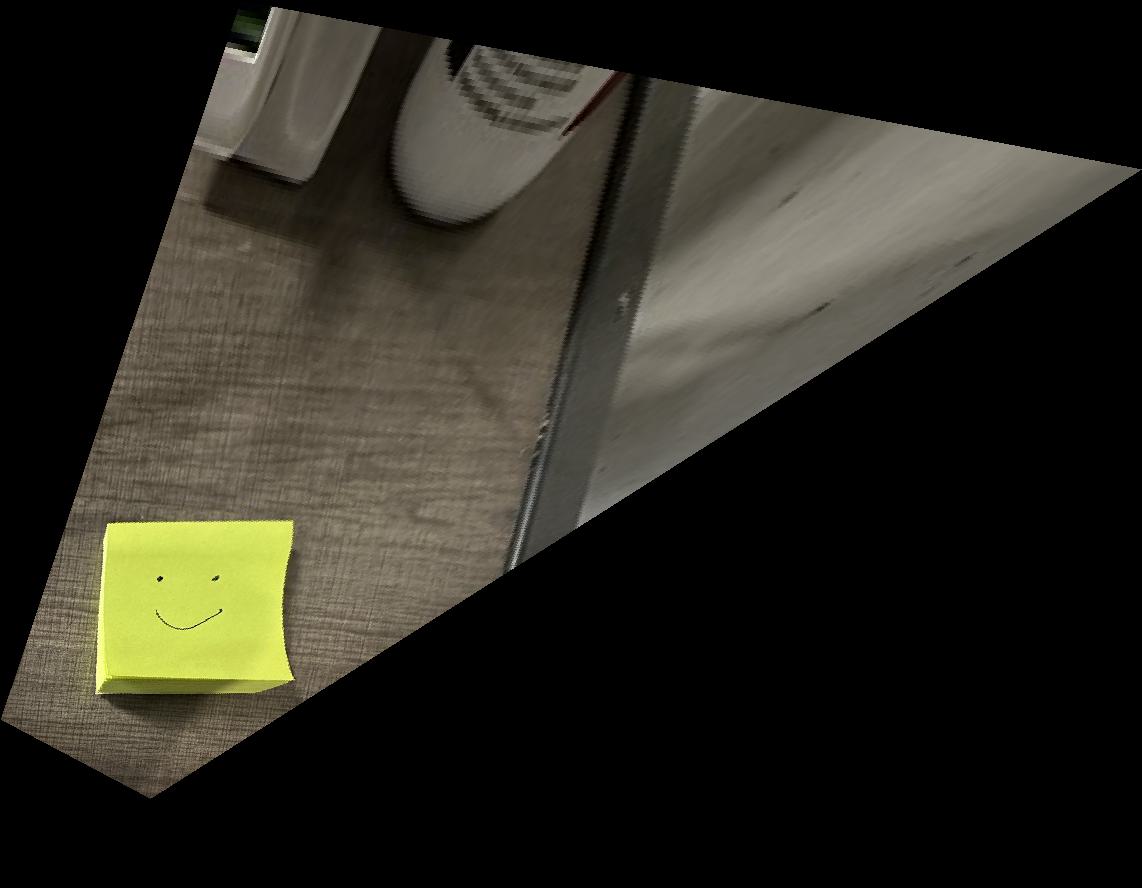
Using the homography matrix, we can rectify images that are positioned at an angle to appear forward-facing. I took the correspondence points and did inverse warping similar to Project 3.
Part 4: Blend images into a mosaic
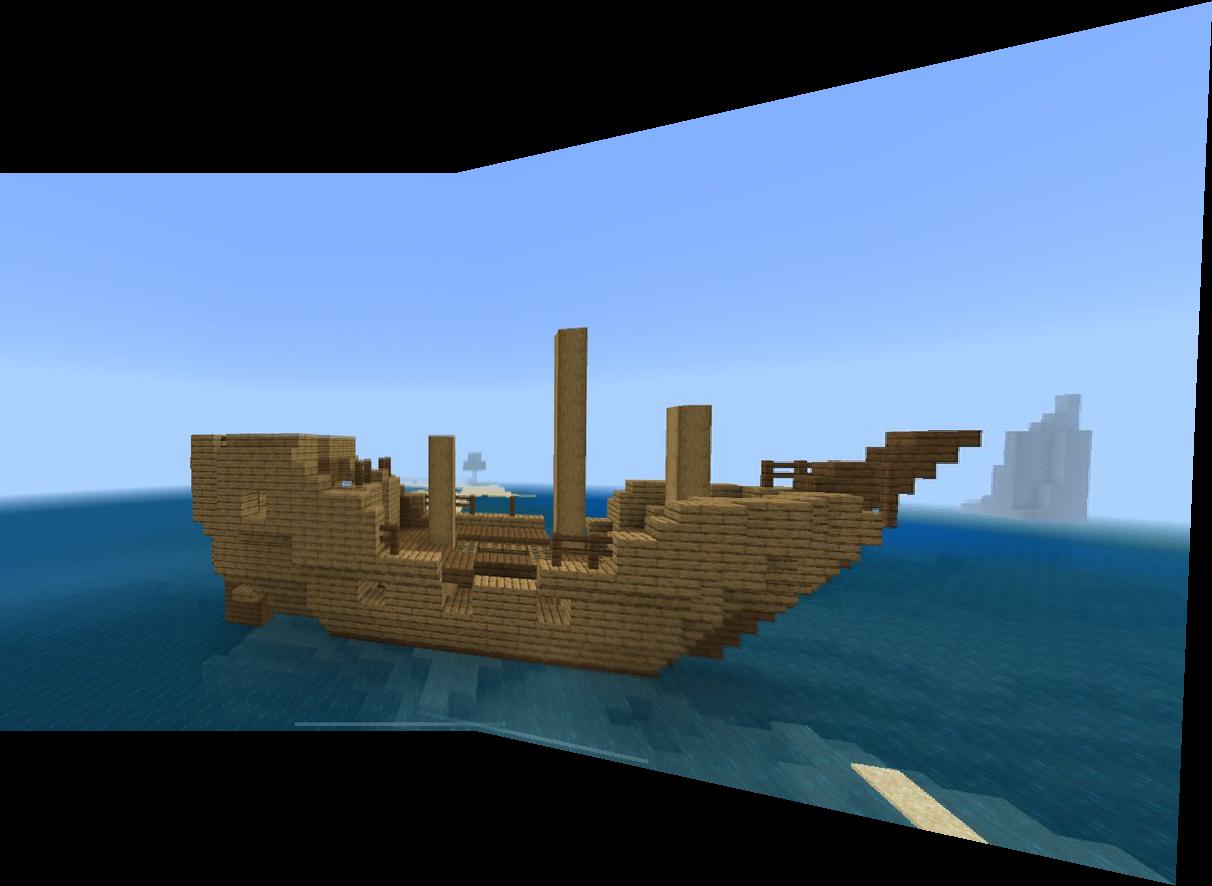
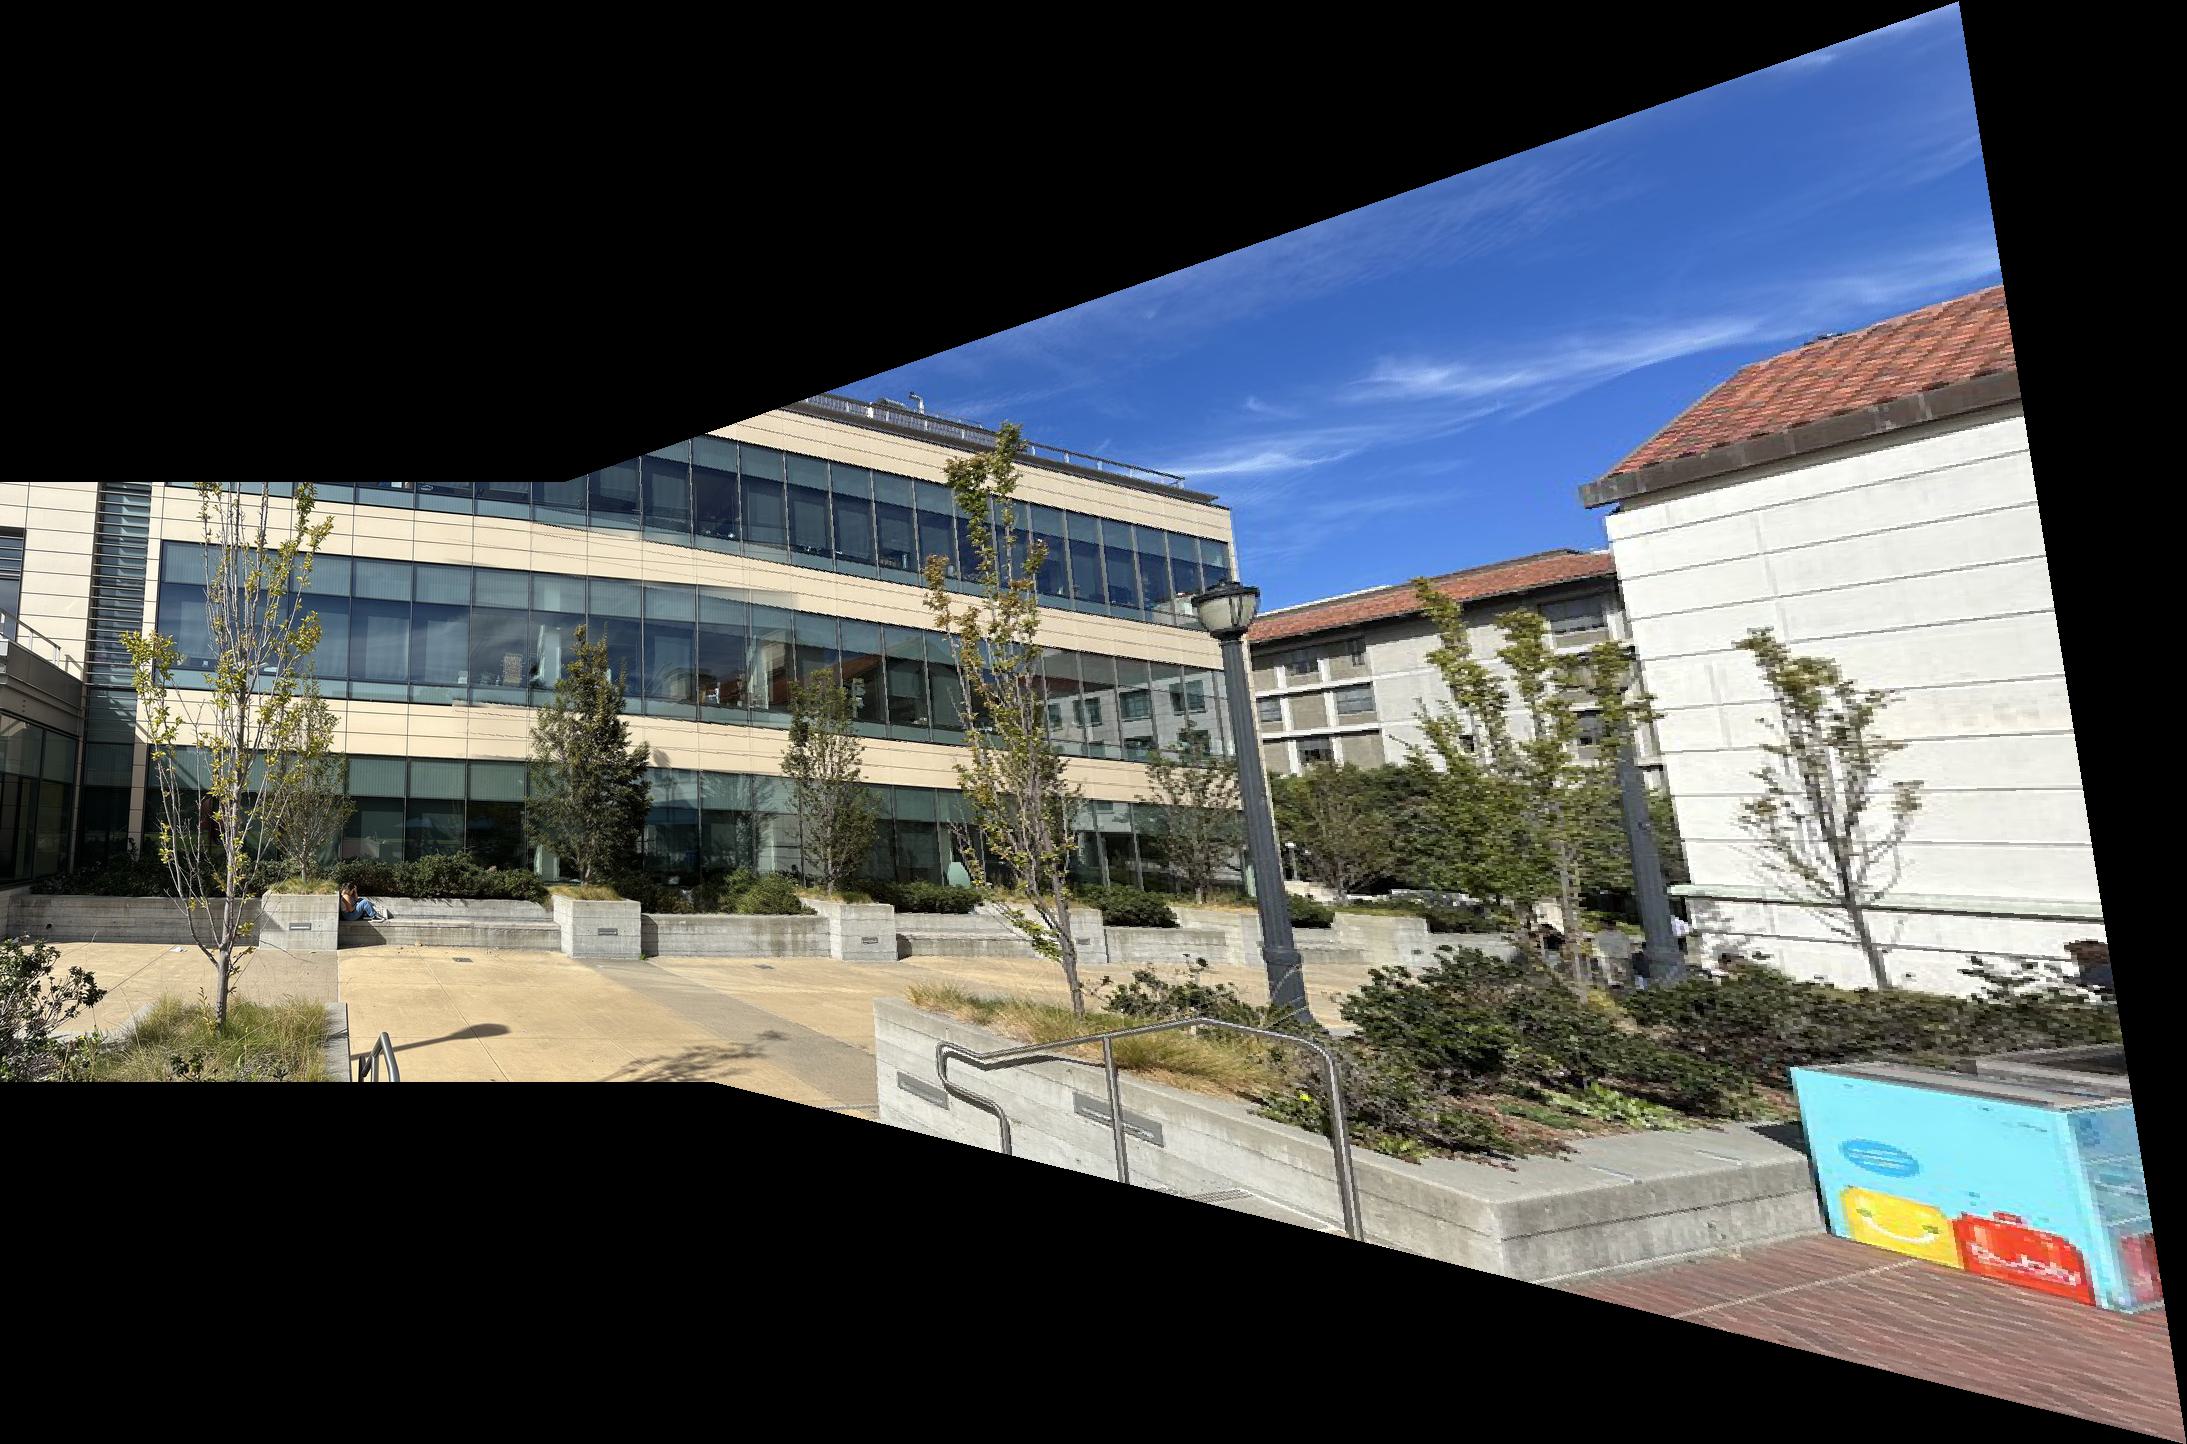
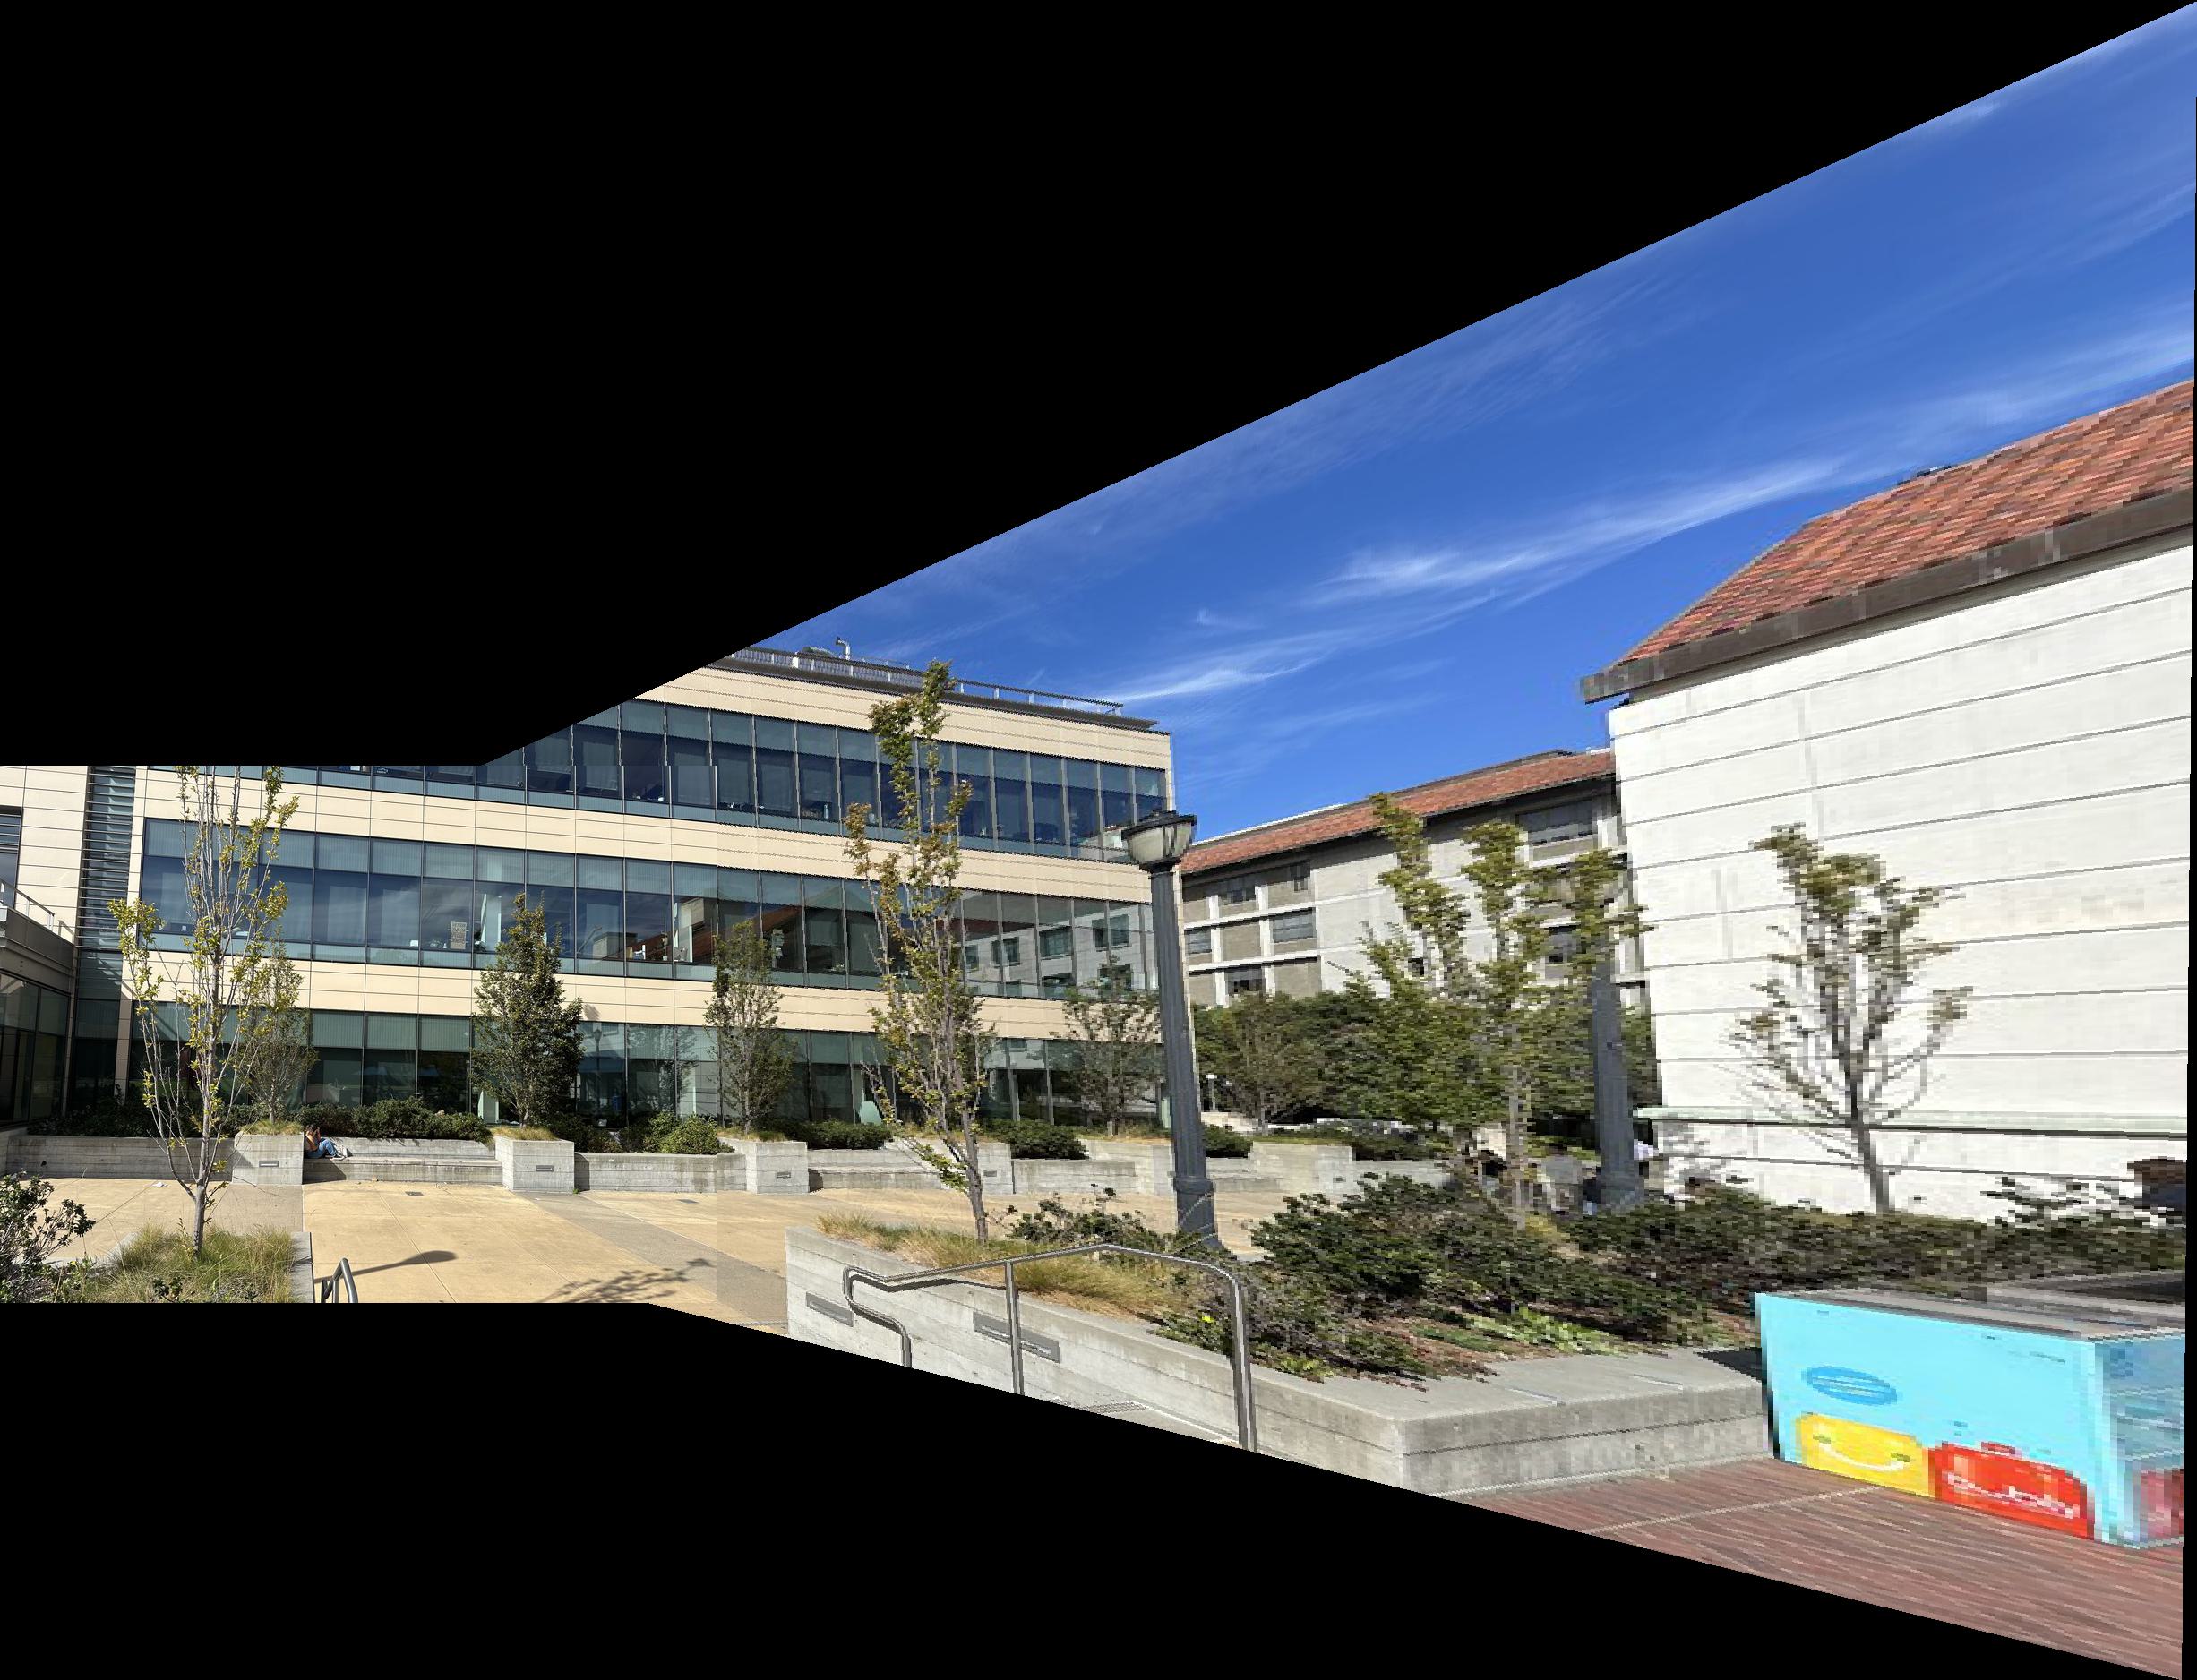
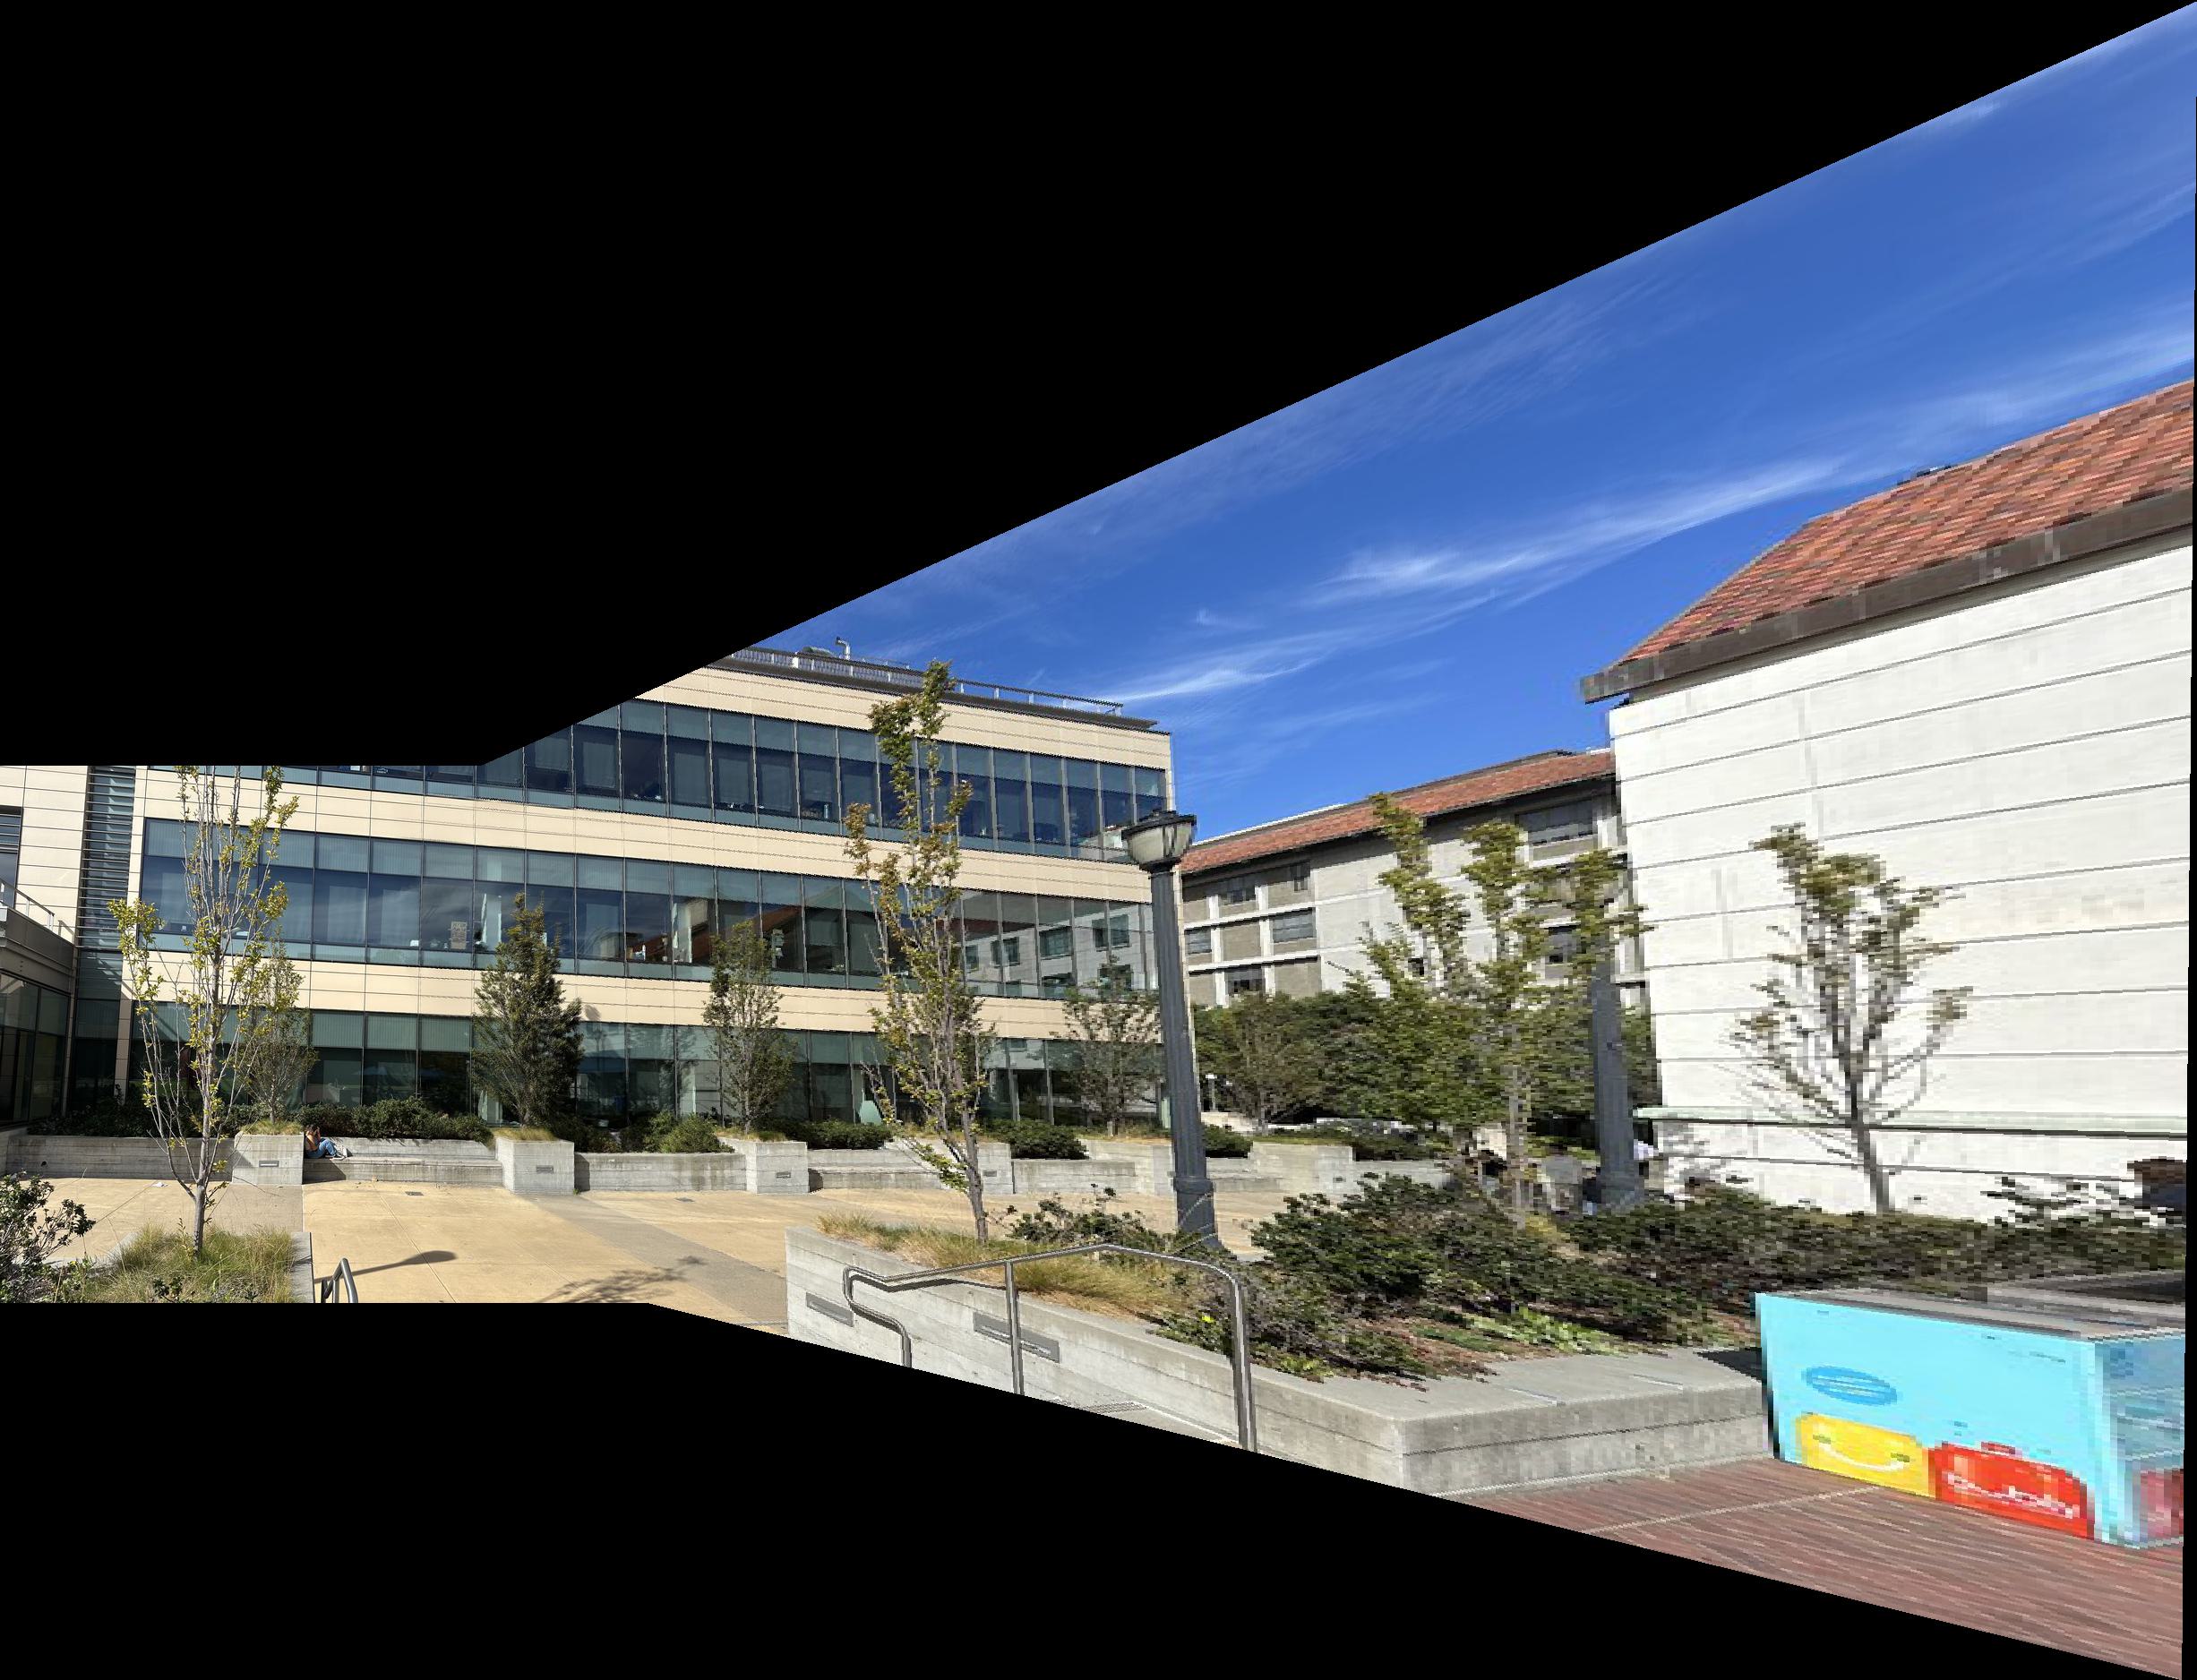
Using the warpImage function created, we can create mosaics of the two images. After stitching the images at the right positions, we need to blend to erase possible artifacts.
Part B: Feature Matching for Autostitching
Let’s go through this example with the boat image.
1. Detecting corner features in an image
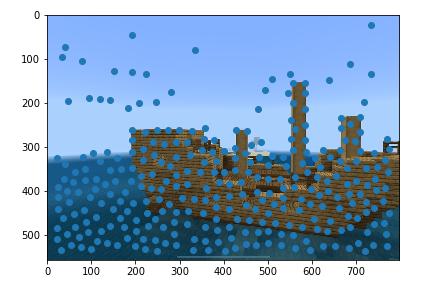
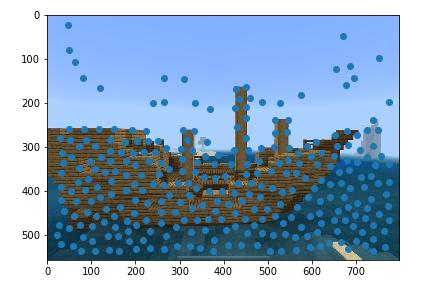
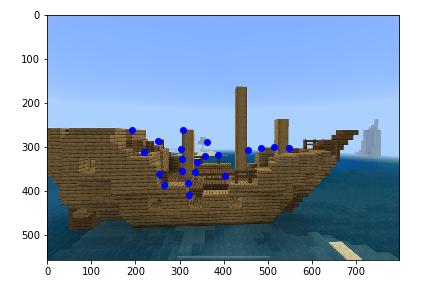
I used the starter code to find harris corners (corner features) in the images.
Then, I implemented adaptive non-maximal suppression (ANMS) to distribute the highest-scoring Harris corners evenly across the image.
2. Feature Descriptor Extraction
To determine the matching points from ANMS between the 2 images, we can do feature descriptor extraction. From a 40x40 block with the point at the center, resize to an 8x8 block with anti-aliasing.

3. Feature Descriptor Matching
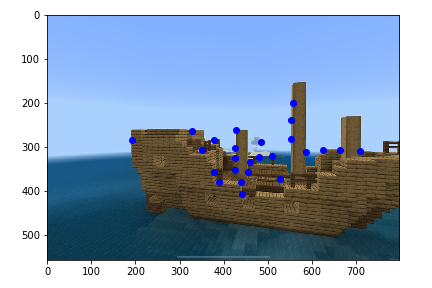
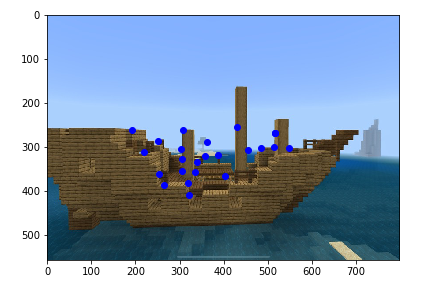
For each 8x8 block in image 1, we can compare it to all 8x8 blocks in image 2. I used the L2 norm as the scoring metric. We can employ Lowe’s Ratio Test— if the highest score divided by the second-highest score is less than some threshold (I used 0.4), then we say that the pair that created the highest score are matches.
We see that there are some clear matches and some incorrect ones.
4. Random Sample Consensus (RANSAC)
We can use RANSAC to further filter the matches. The algorithm for n = 150 iterations is as follows:
- Randomly select 4 matching pairs
- Compute the homography matrix using those 4 pairs
- Apply the tomography matrix on all the matching points in image 1
- Compute the distance between the output of Step 3 and the matching points in image 2
- Set threshold = 3. An inlier is if the distance in Step 4 is < the threshold. If the number of inliers > the most found number of inliers, proceed to Step 6. Otherwise, start the iteration again.
- Set the most found number of inliers to the current number of inliers. Also keep track of the matching pairs whose distance is < threshold.
Finally, compute the best homography matrix using the best matching pairs.
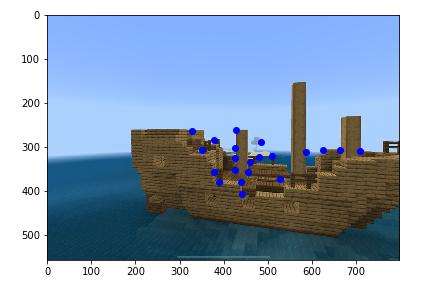
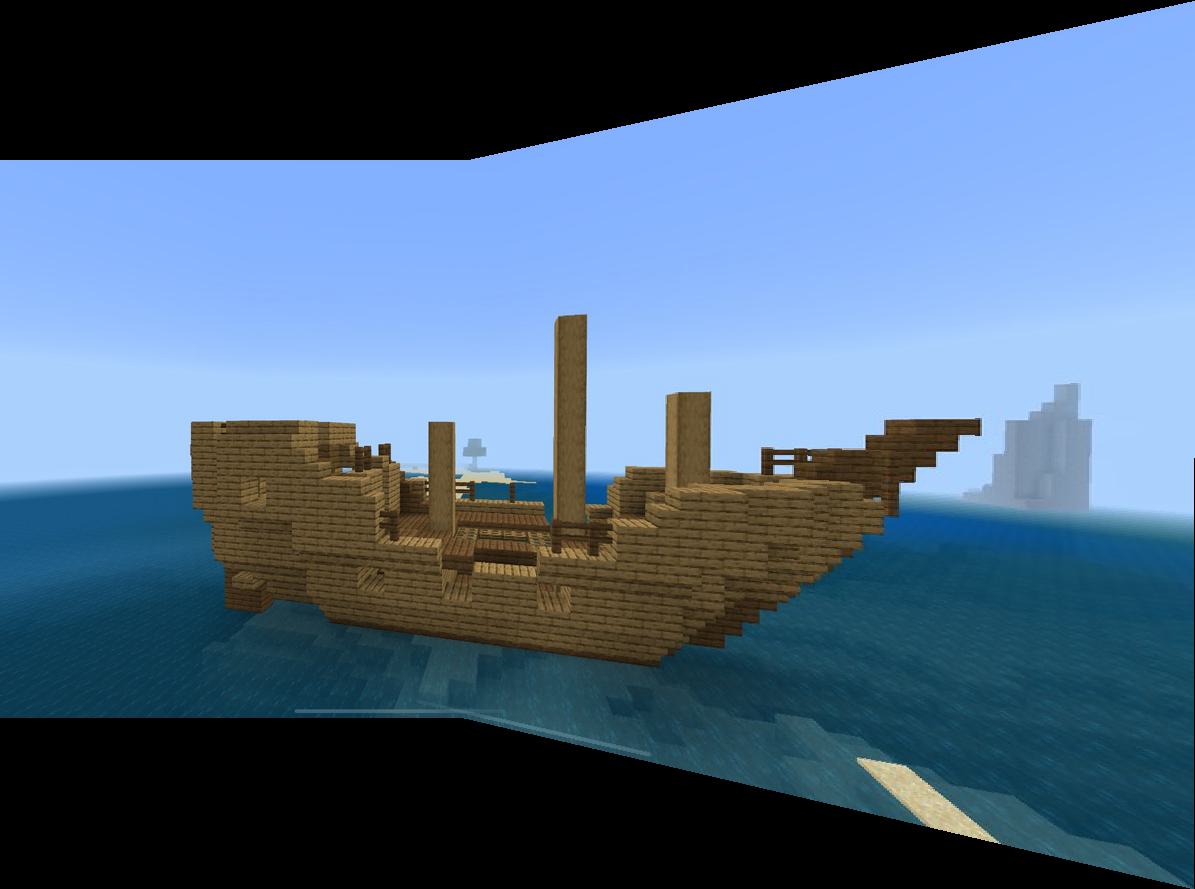
After RANSAC, we see that the points match exactly, with the previous incorrect points gone.
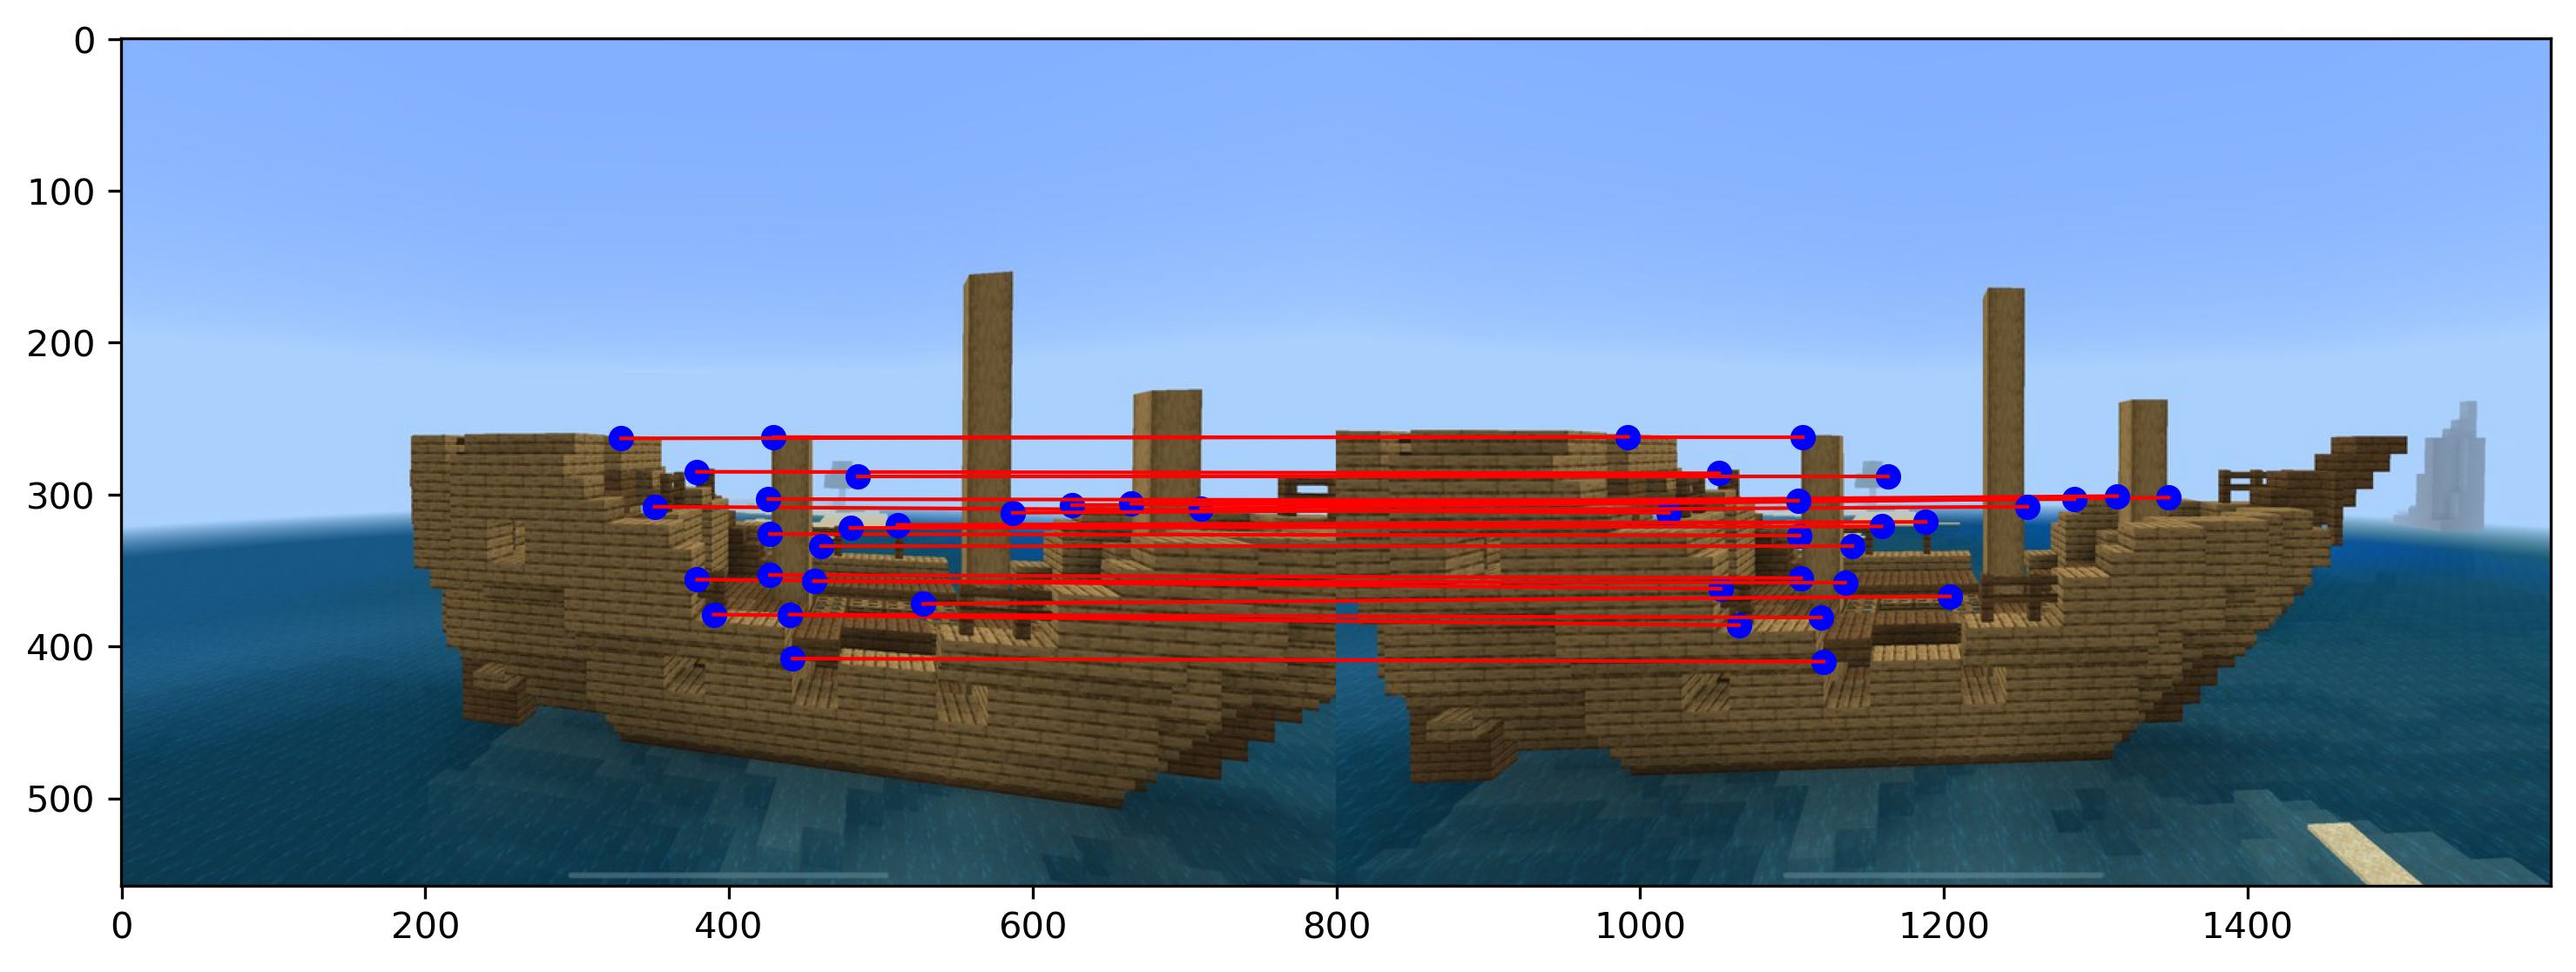
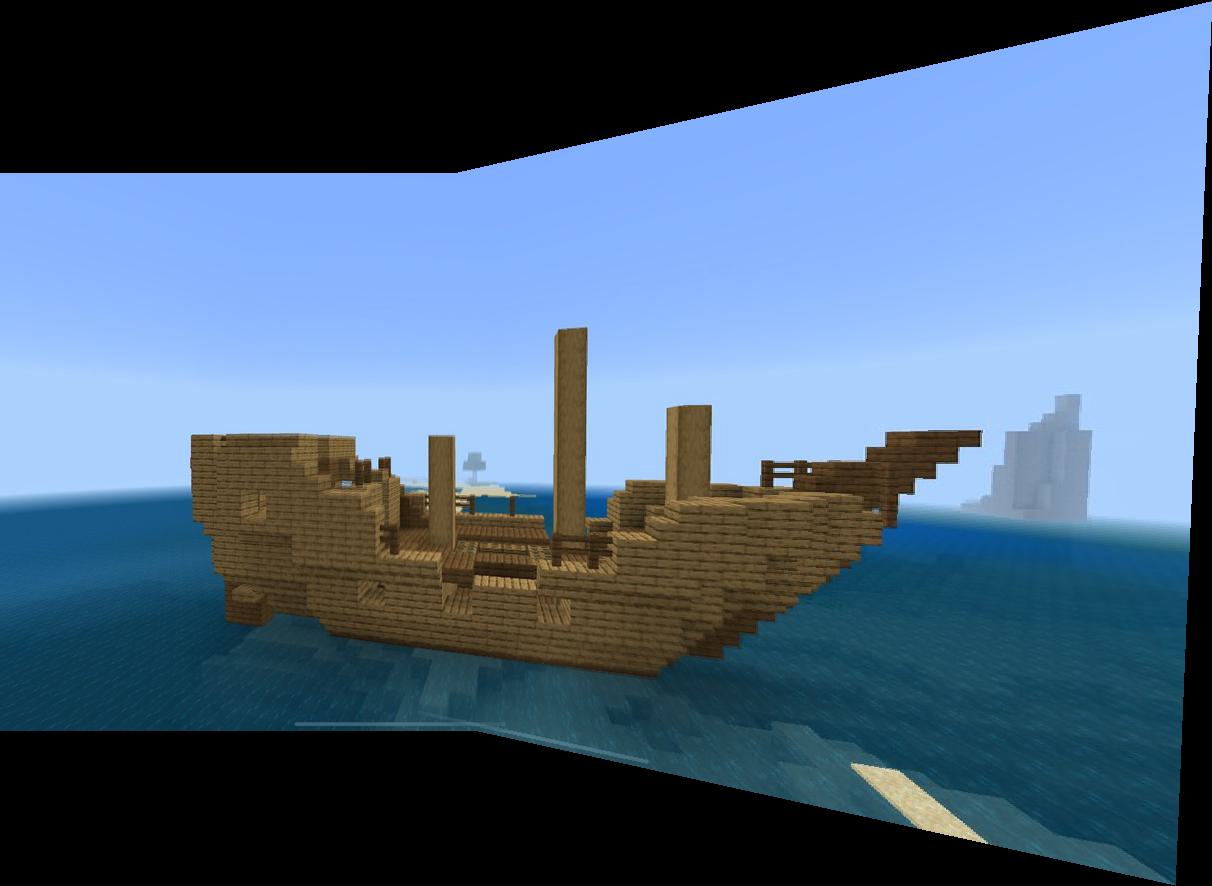
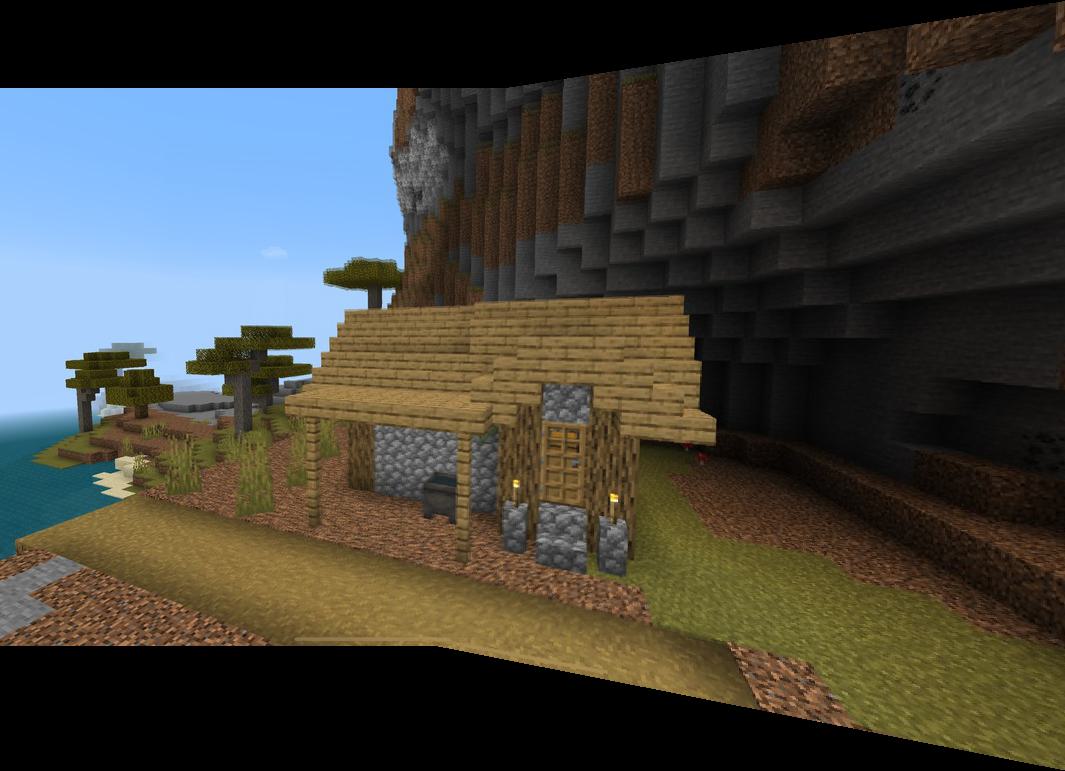
With this final set of points, we can warp the image as from Part A.
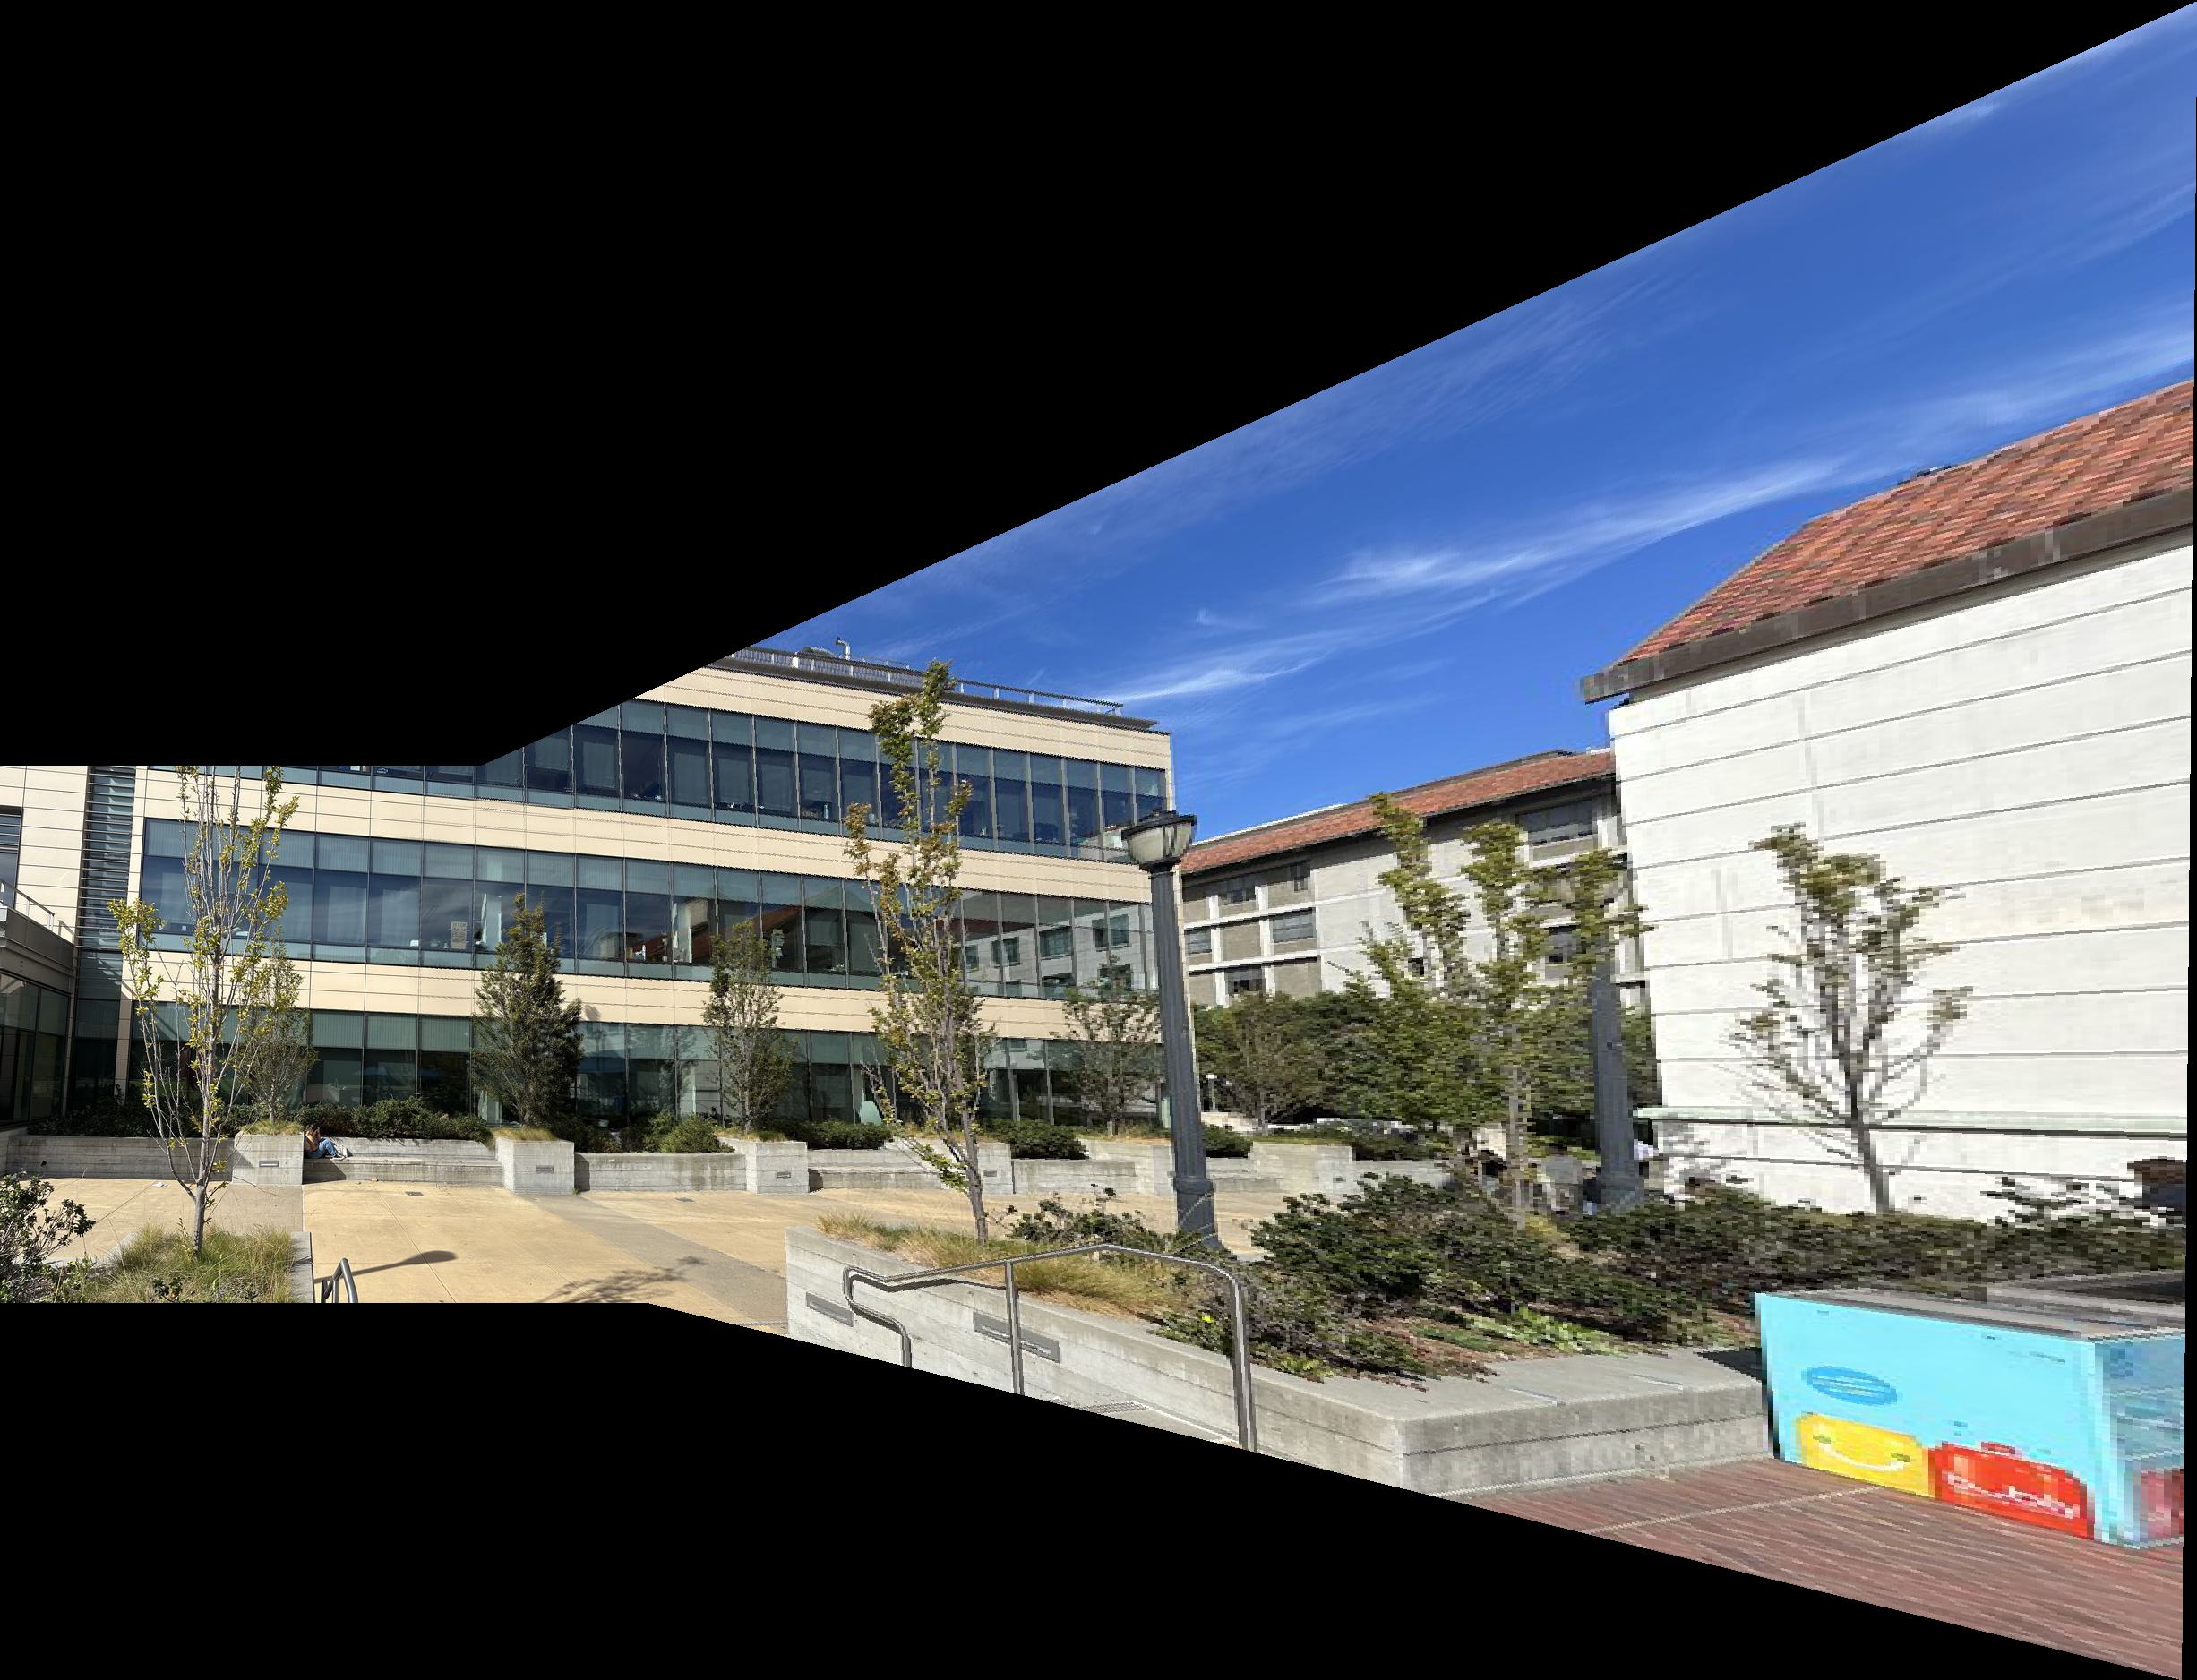
We can apply the same pipeline to the other two images.
5. Takeaways
From Part A, I learned how to warp two images together to create a final stitched output. I realized the importance of visualizing my desired output before I started implementing.
From Part B, I learned how to automatically stitch two images. It was interesting to implement components of a research paper and see the results directly. The coolest part was probably RANSAC, since it was so effective in accurately retrieving the correct points.


