Project 5: Fun With Diffusion Models
Part 5A
Part 0: Setup
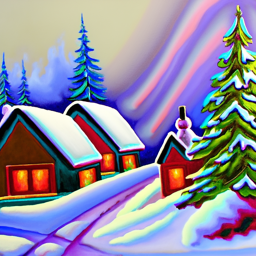
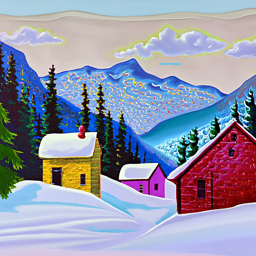
It seems that a higher num_inference_steps results in a higher quality image.
I’m using 180 as my random seed.
Part 1: Sampling Loops
1.1 Implementing the Forward Process
1.2 Classical Denoising
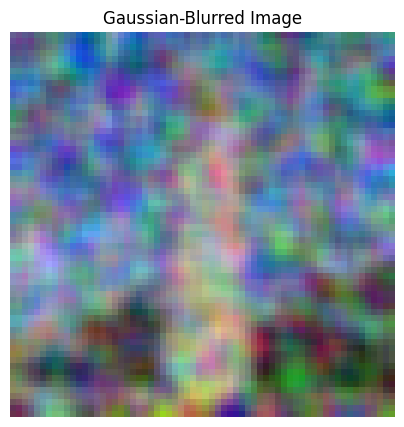
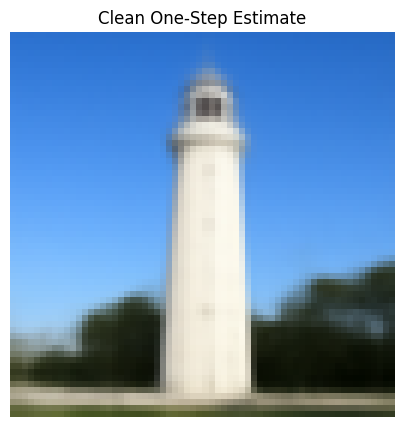
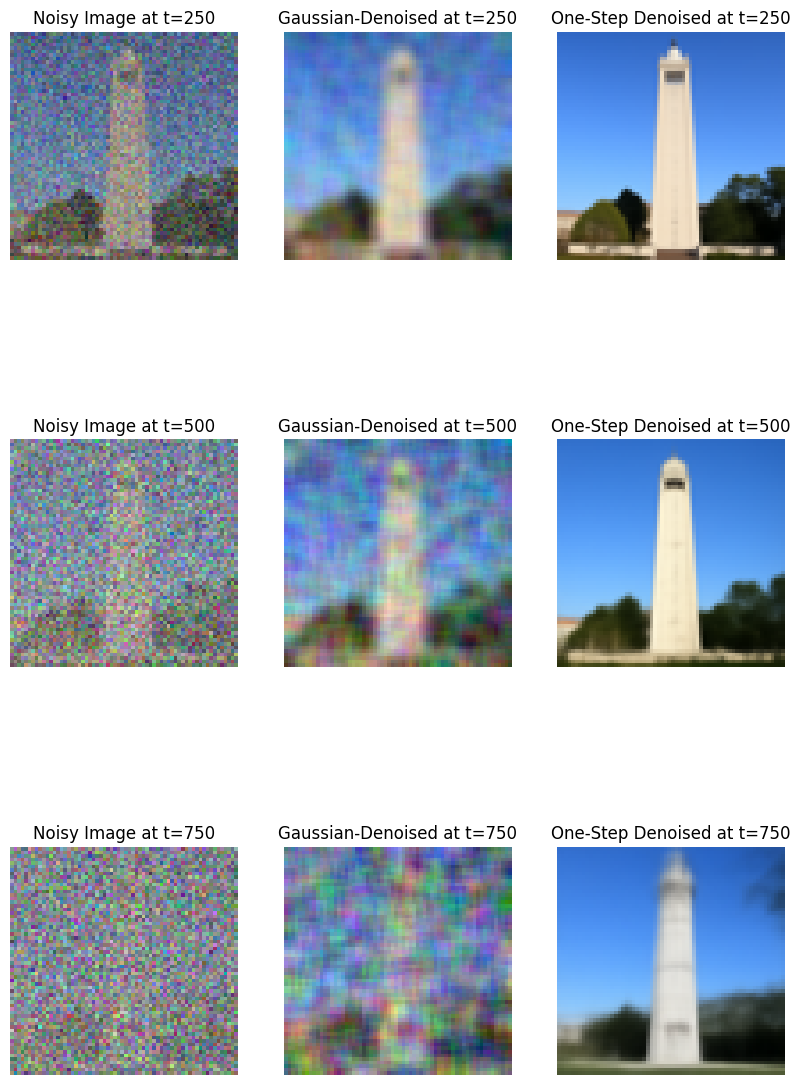
1.3 One-Step Denoising
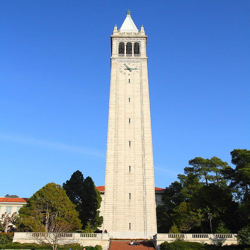
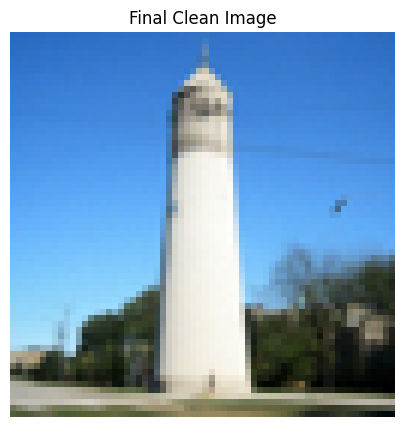
1.4 Iterative Denoising

1.5 Diffusion Model Sampling

1.6 Classifier-Free Guidance (CFG)

1.7 Image-to-image Translation


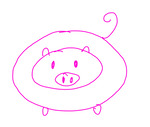
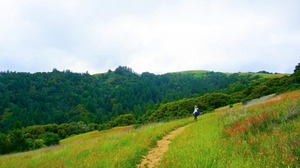
1.7.1 Editing Hand-Drawn and Web Images


1.7.2 Inpainting
1.7.3 Text-Conditional Image-to-image Translation


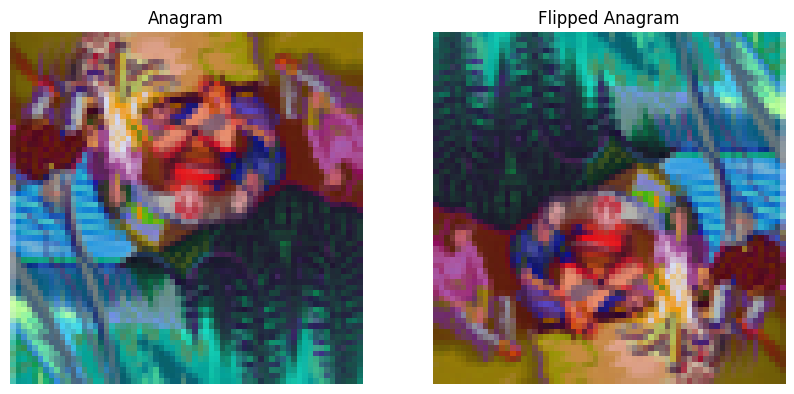
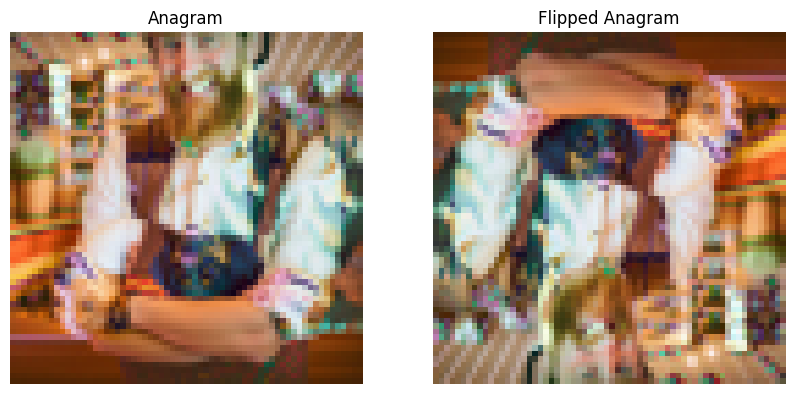
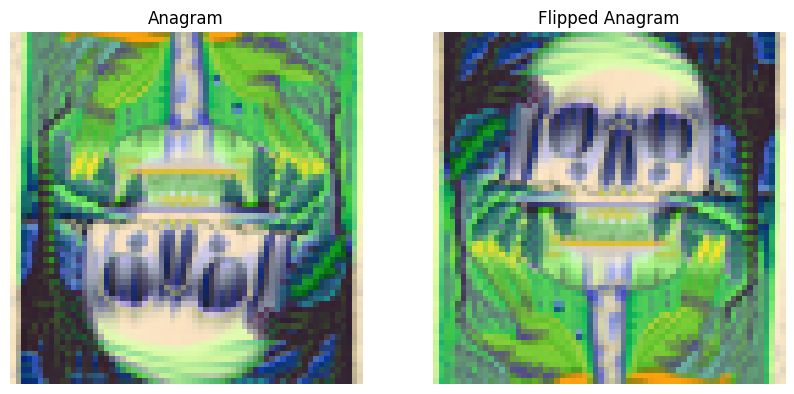
1.8 Visual Anagrams
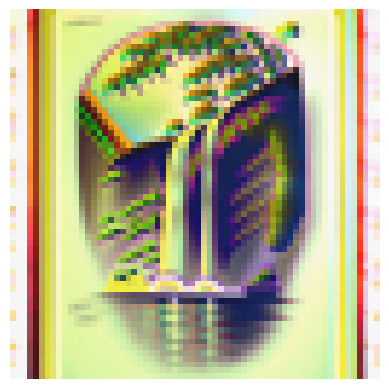
1.9 Hybrid Images
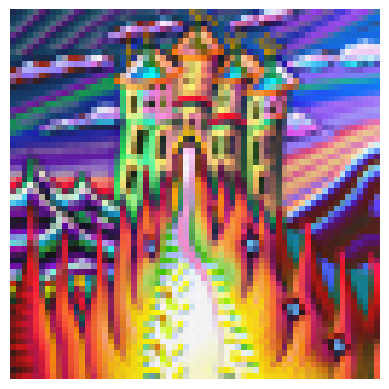
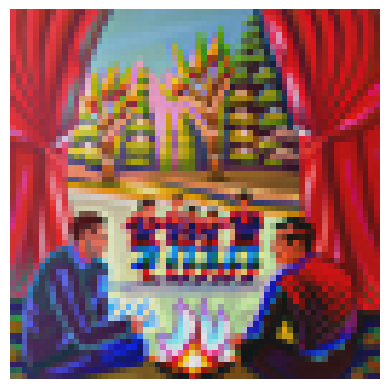
Part 2: Bells & Whistles
Course Logo
Part 5B
In this sub-project, I create a diffusion model to generate images from the MNIST dataset.
Part 1: Training a Single-Step Denoising UNet
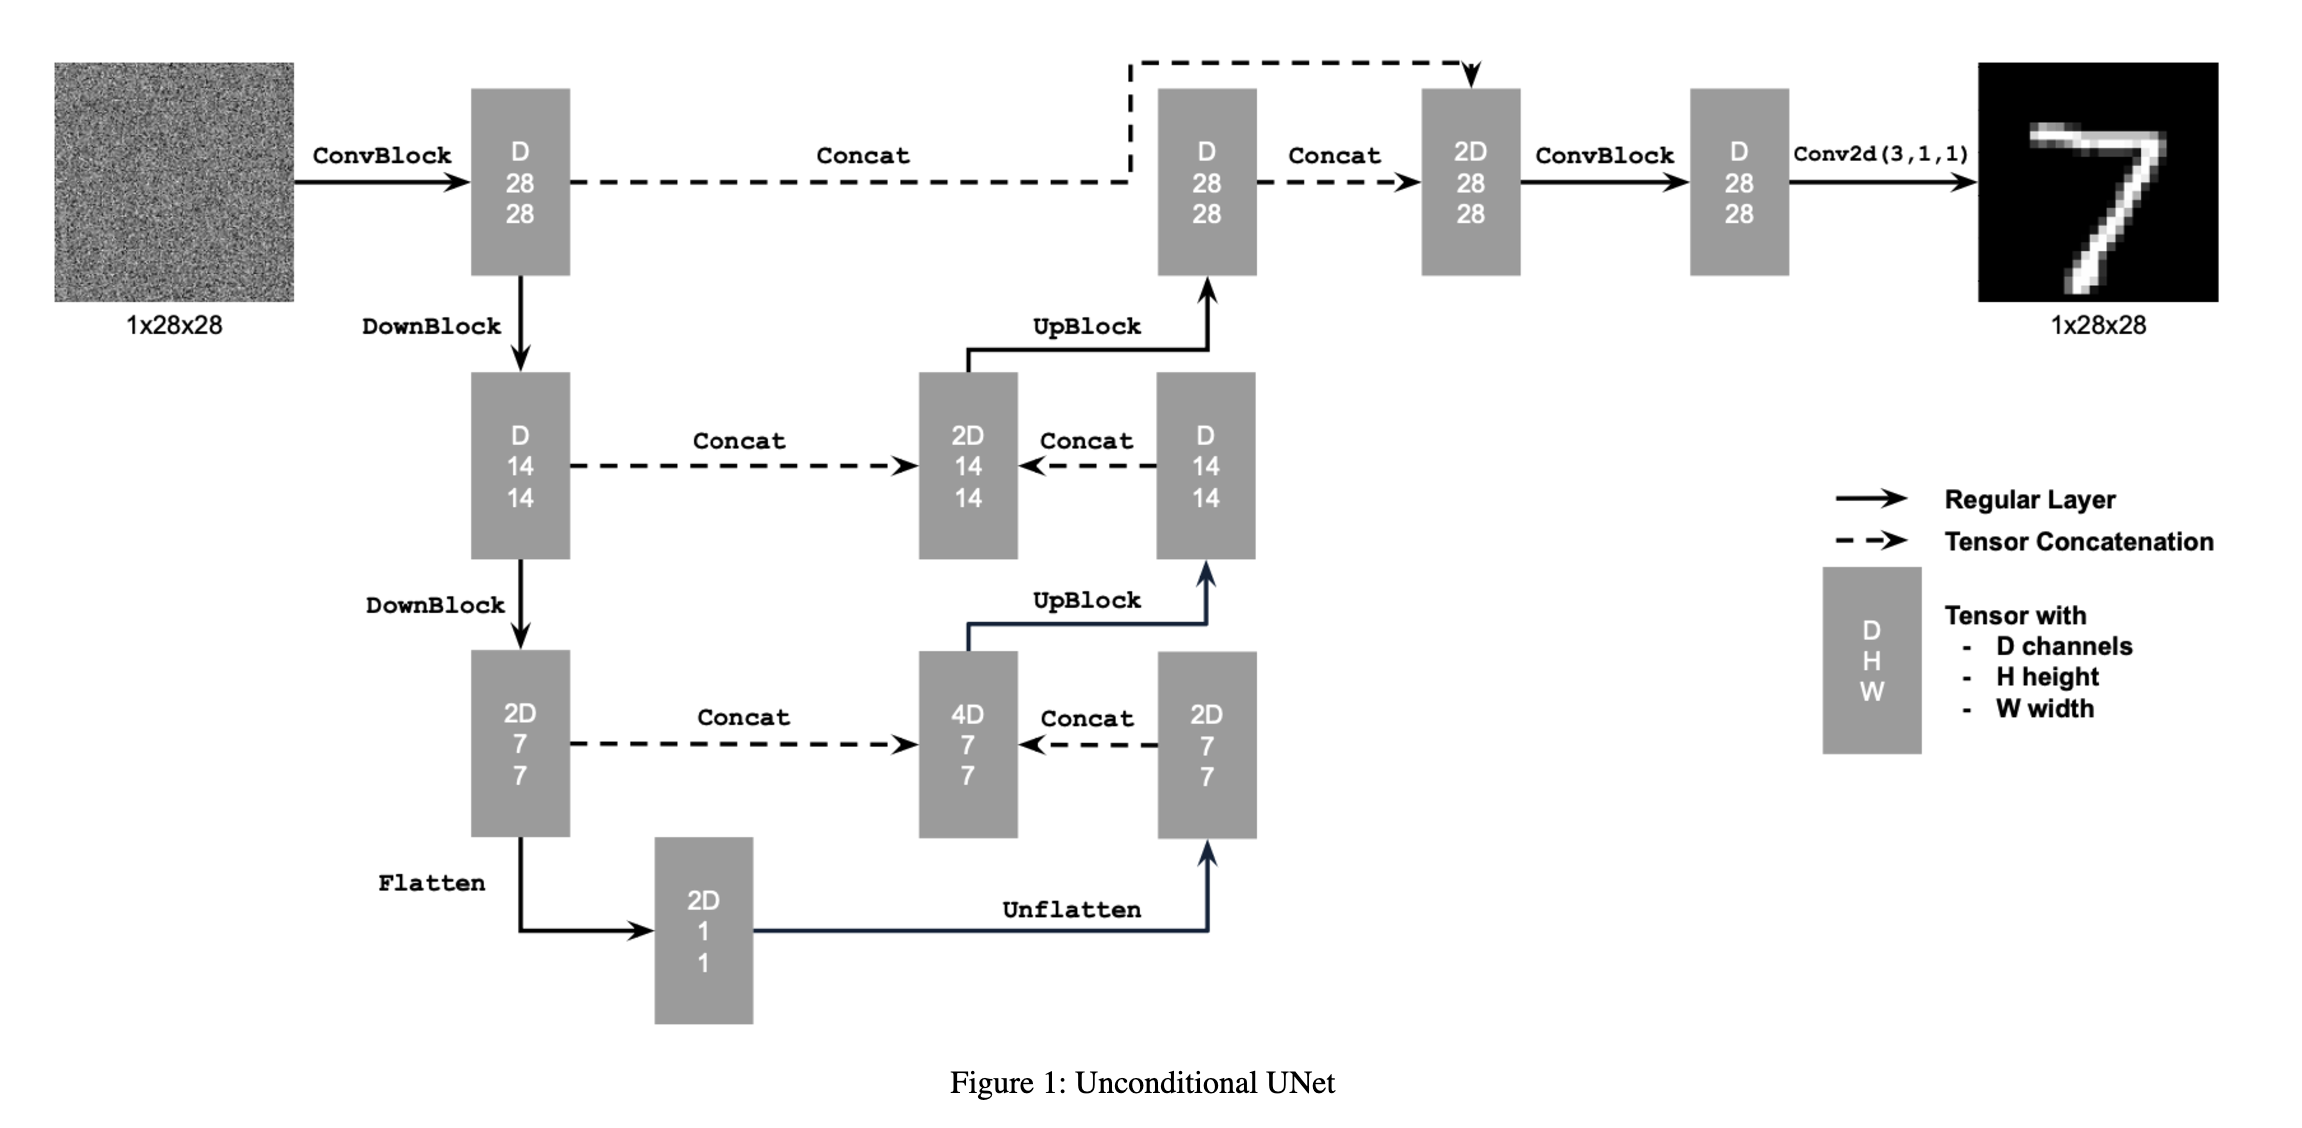
1.1 Implementing the UNet
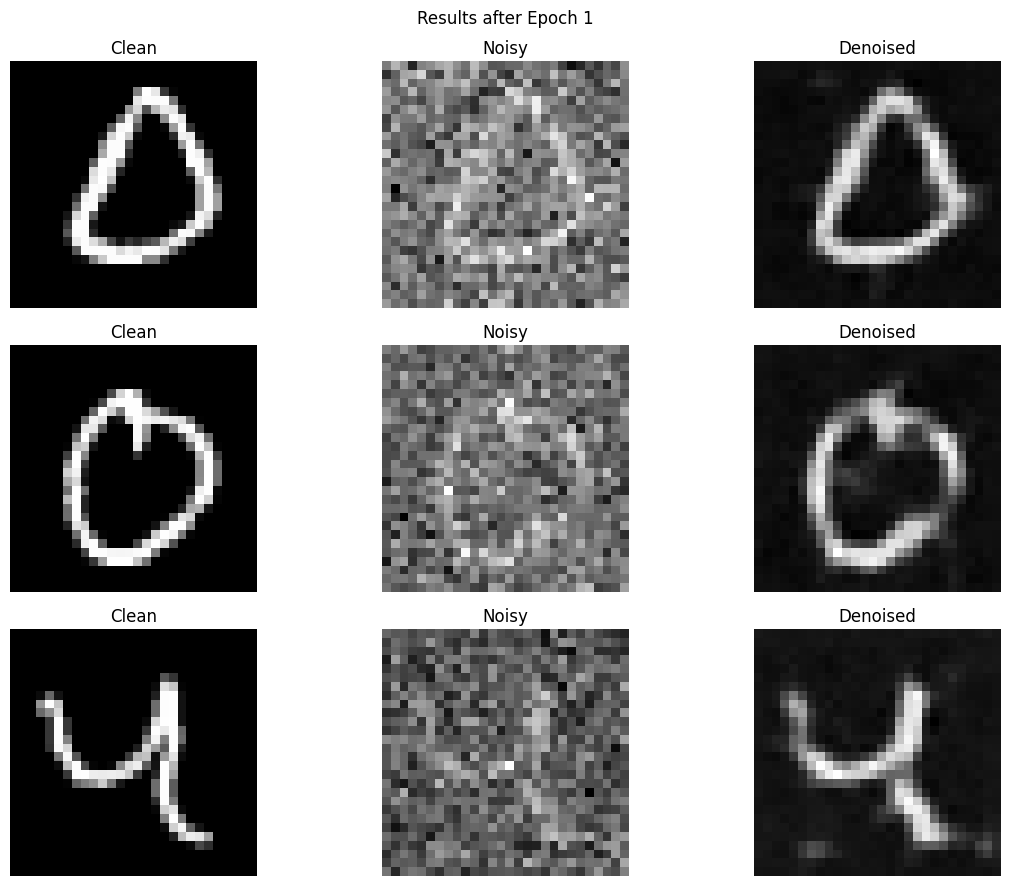
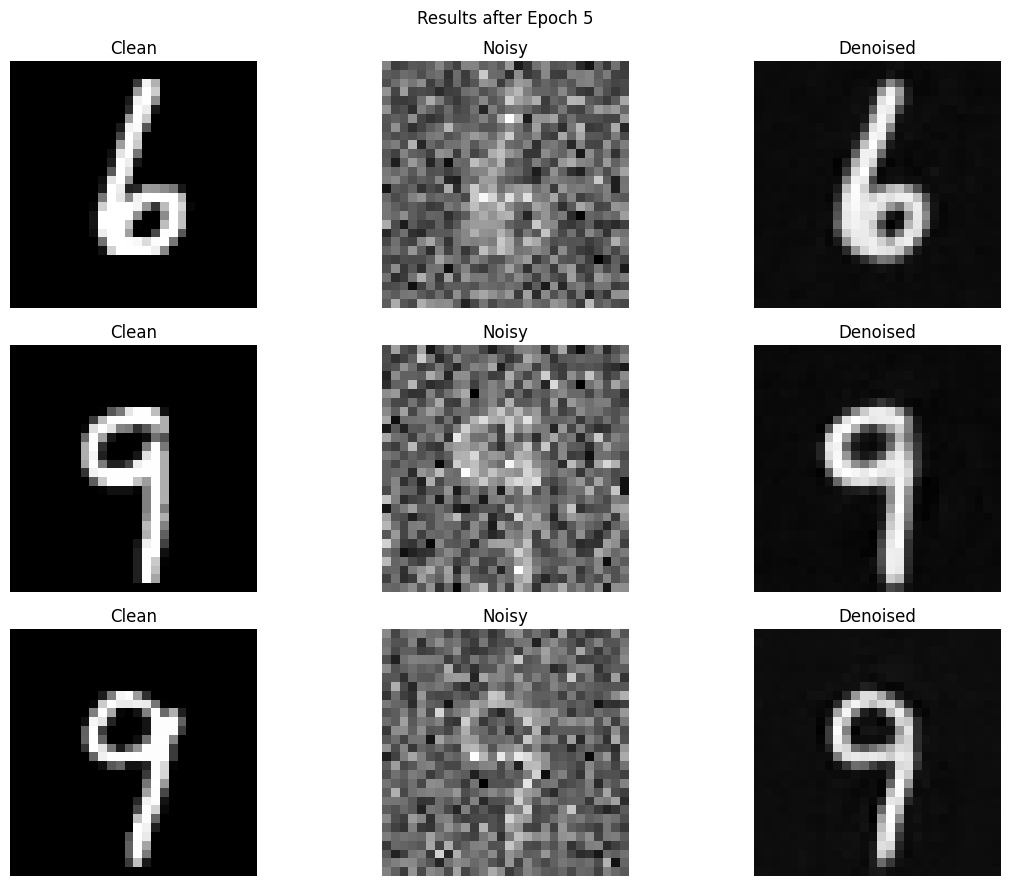
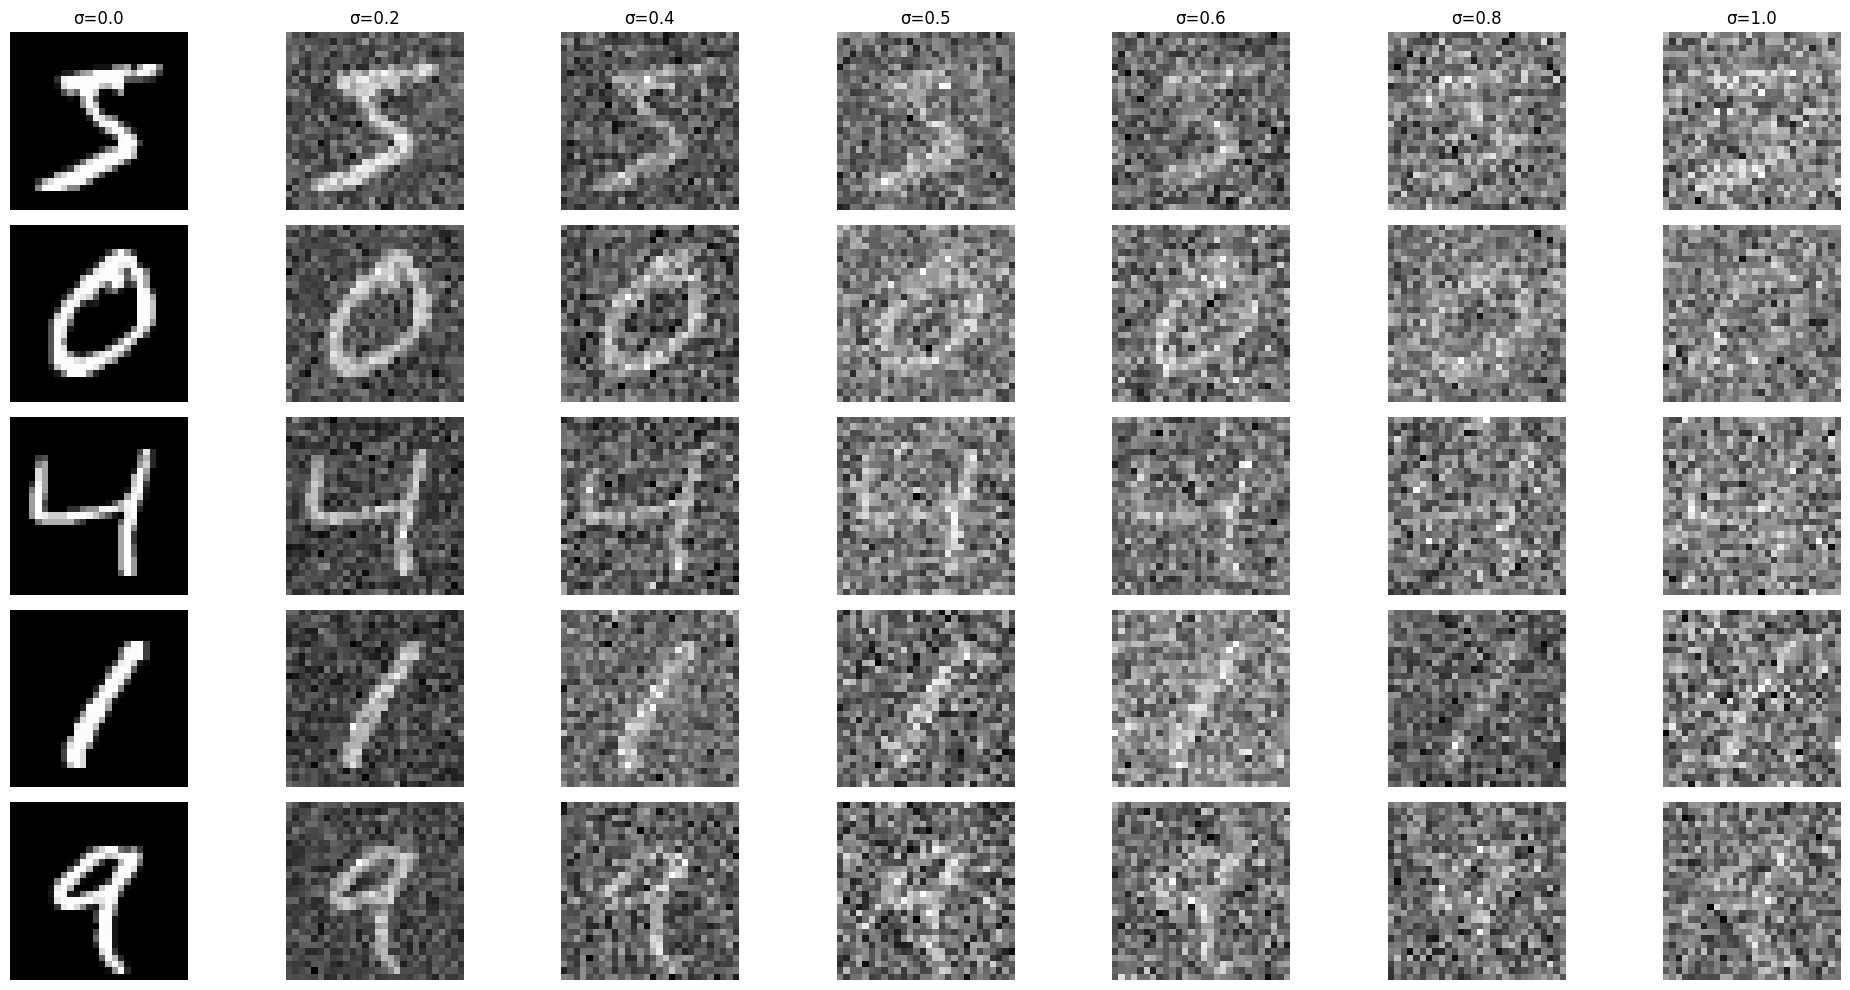
1.2 Using the UNet to Train a Denoiser
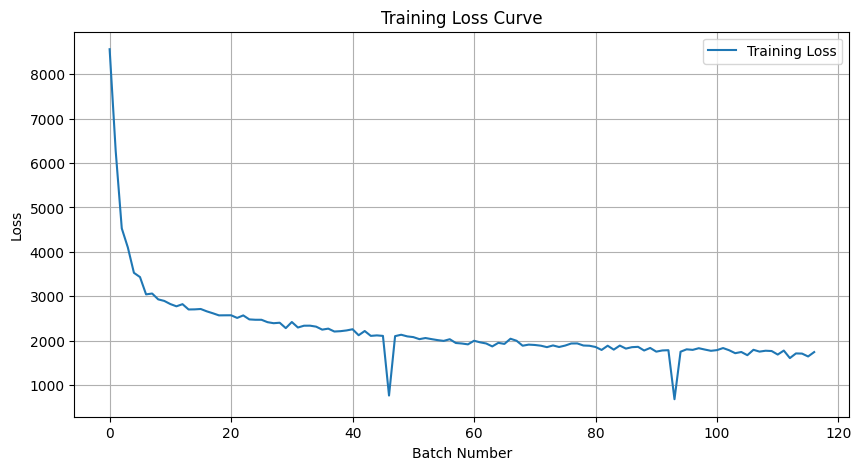
1.2.1 Training
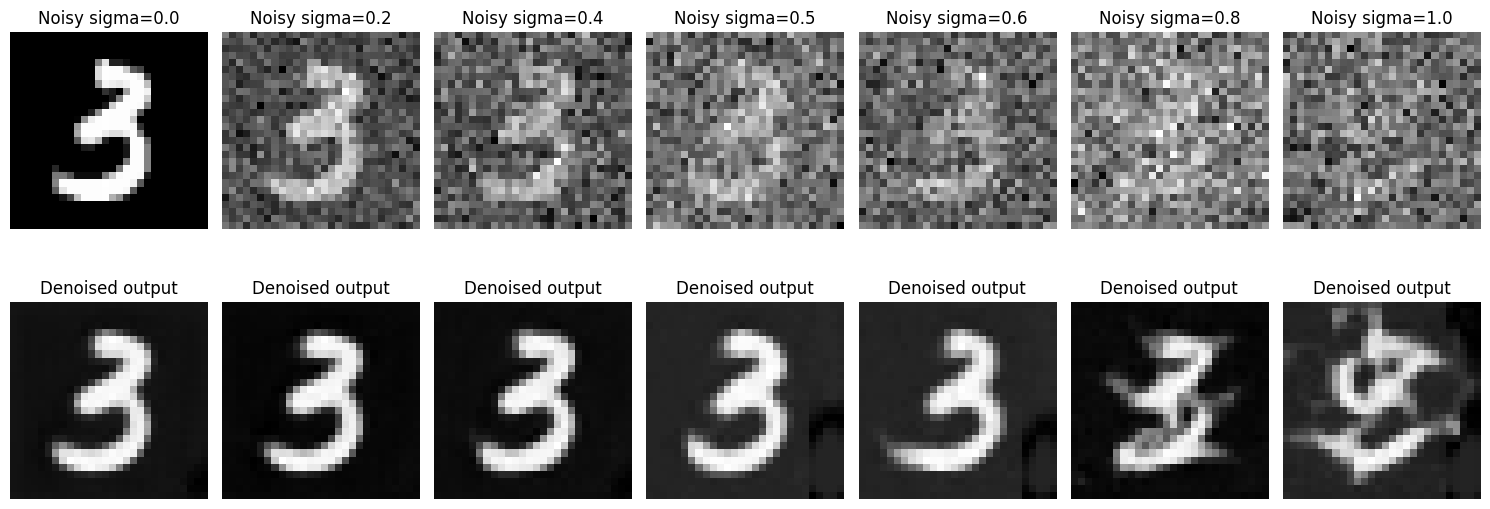
1.2.2 Out-of-Distribution Testing
Part 2: Training a Diffusion Model
From the previous part, we saw that the current UNet implementation is not sufficient enough to successfully denoise images that have significant amounts of noise. We need to create a proper diffusion model! This involves sampling a purely noisy image and generating a realistic image from it. We can do this by iteratively denoising an image.
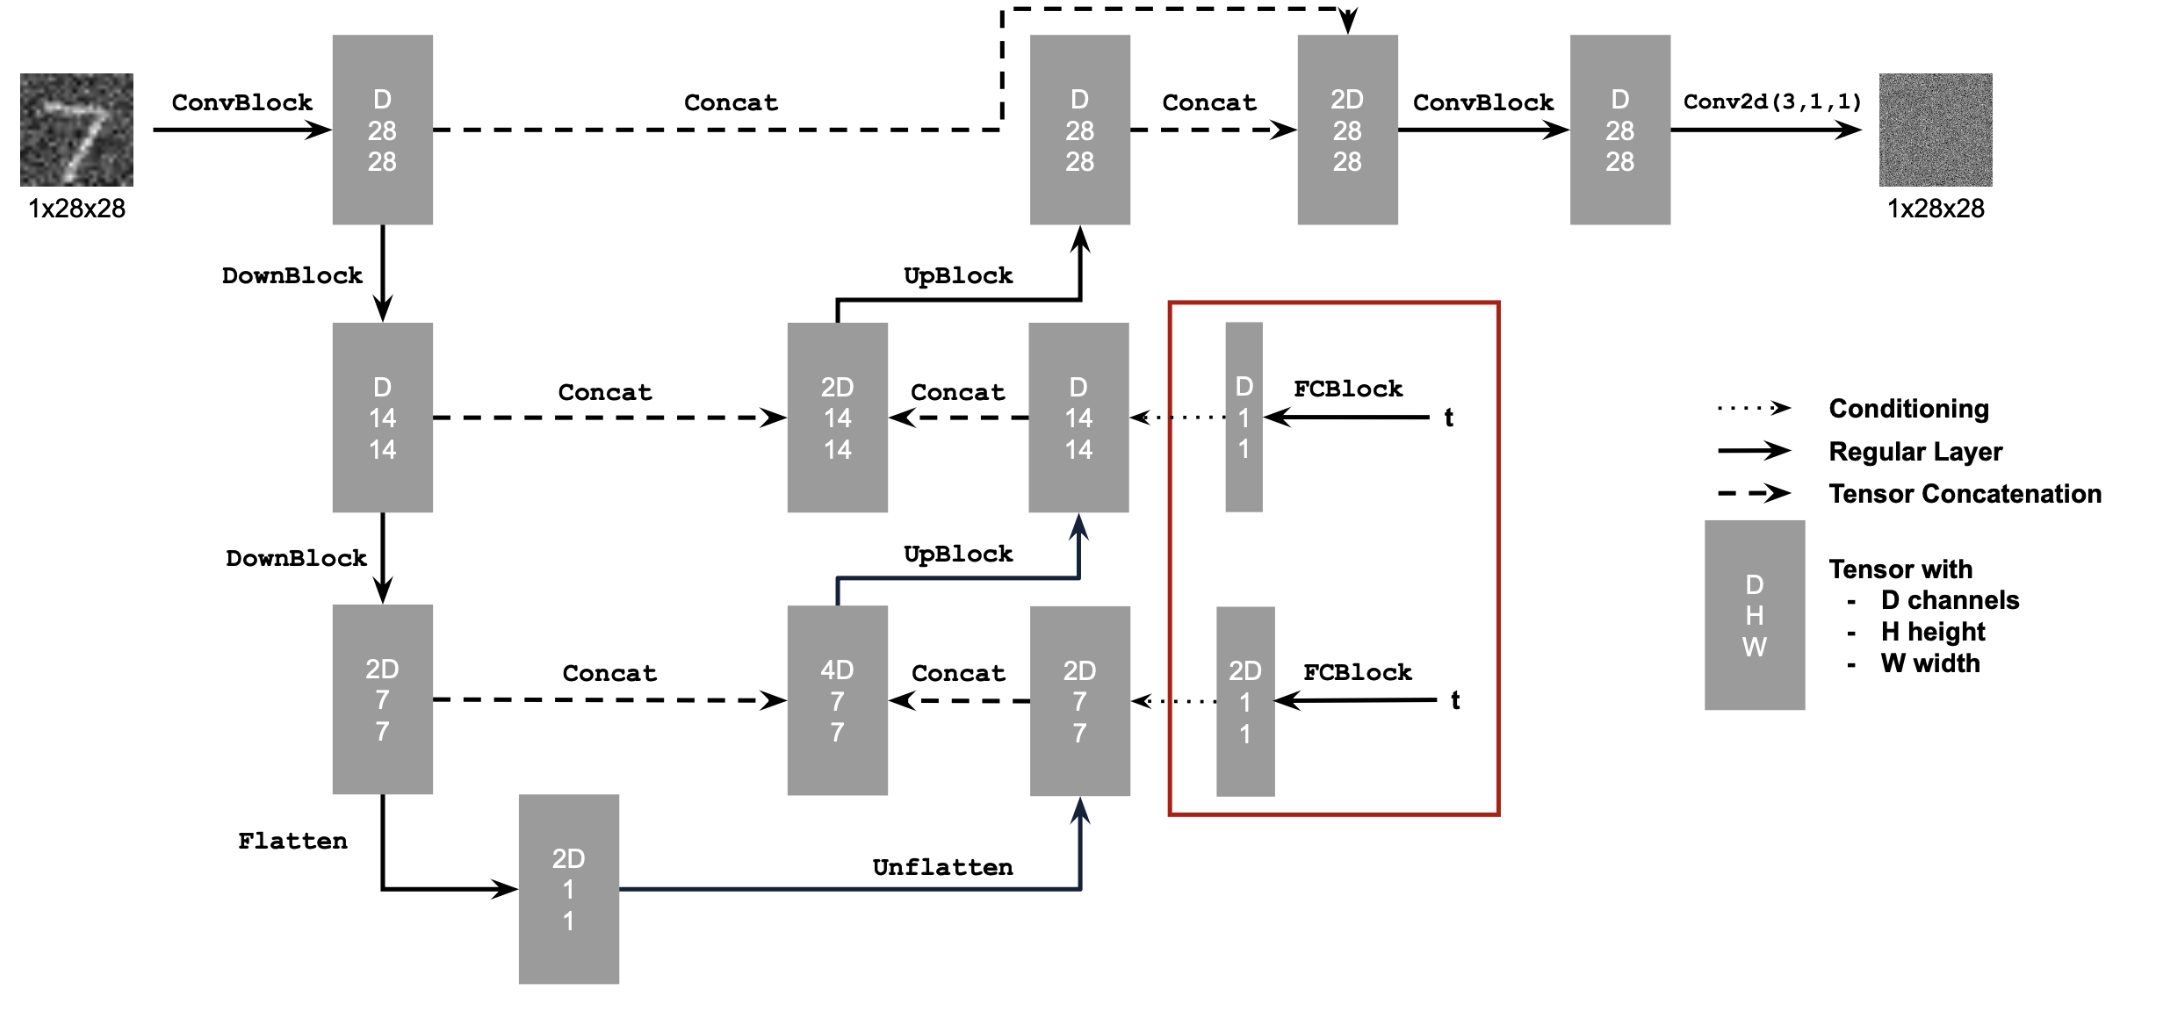
2.1 Adding Time Conditioning to UNet
We can add a fully conditioned block to our UNet to inject the conditioning signal.

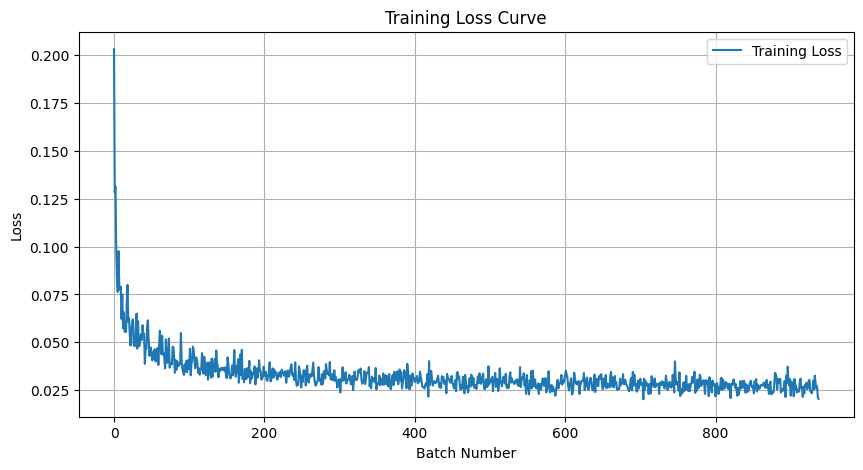
2.2 Training the UNet

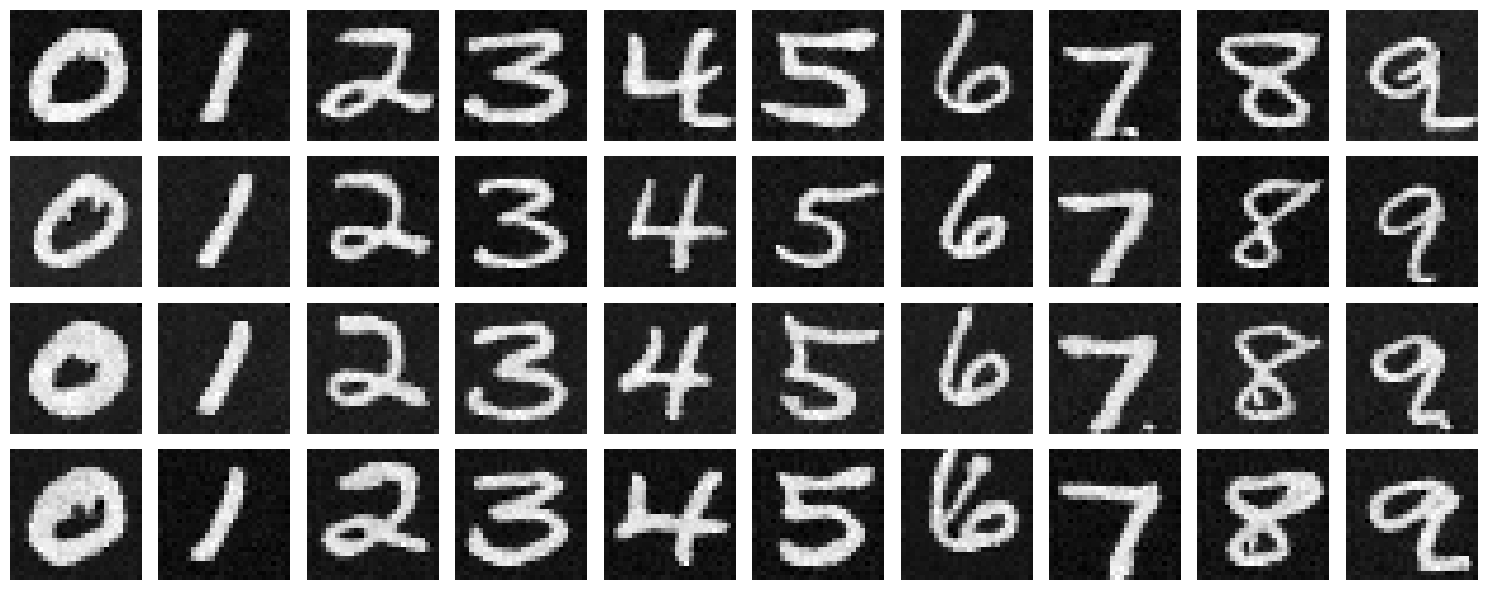
2.3 Sampling from the UNet

2.4 Adding Class-Conditioning to UNet
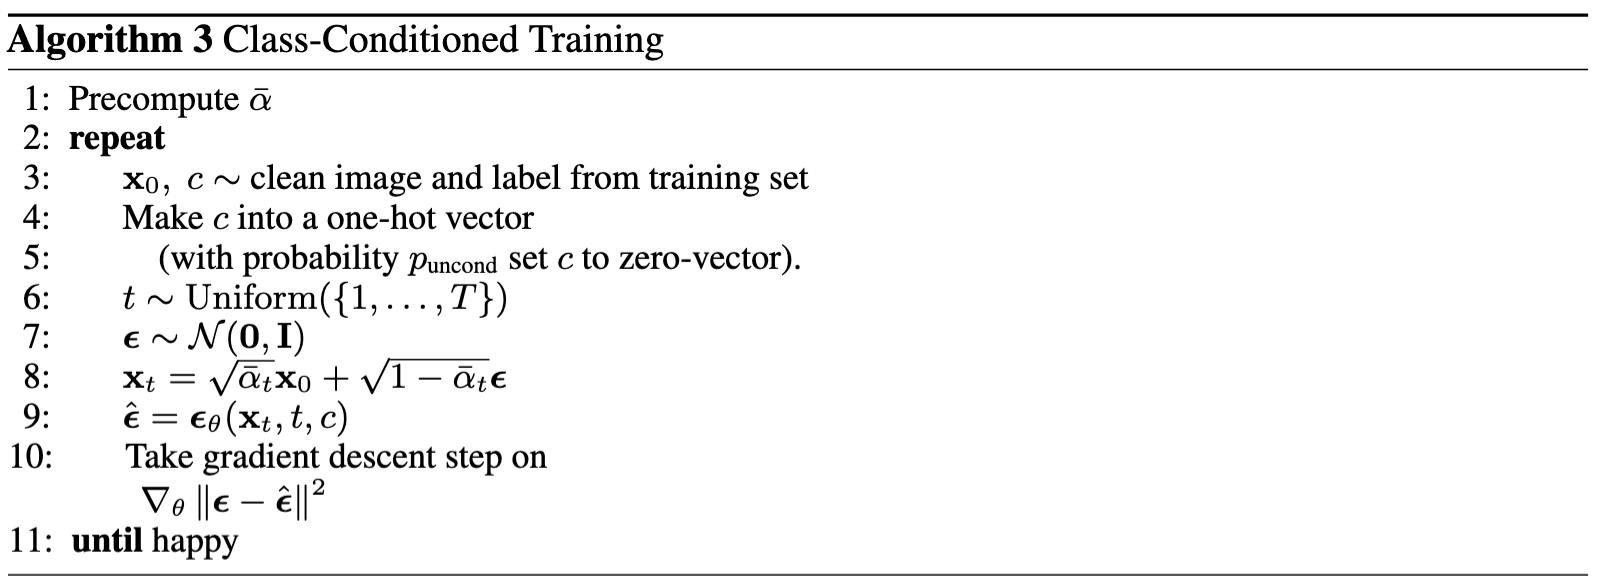
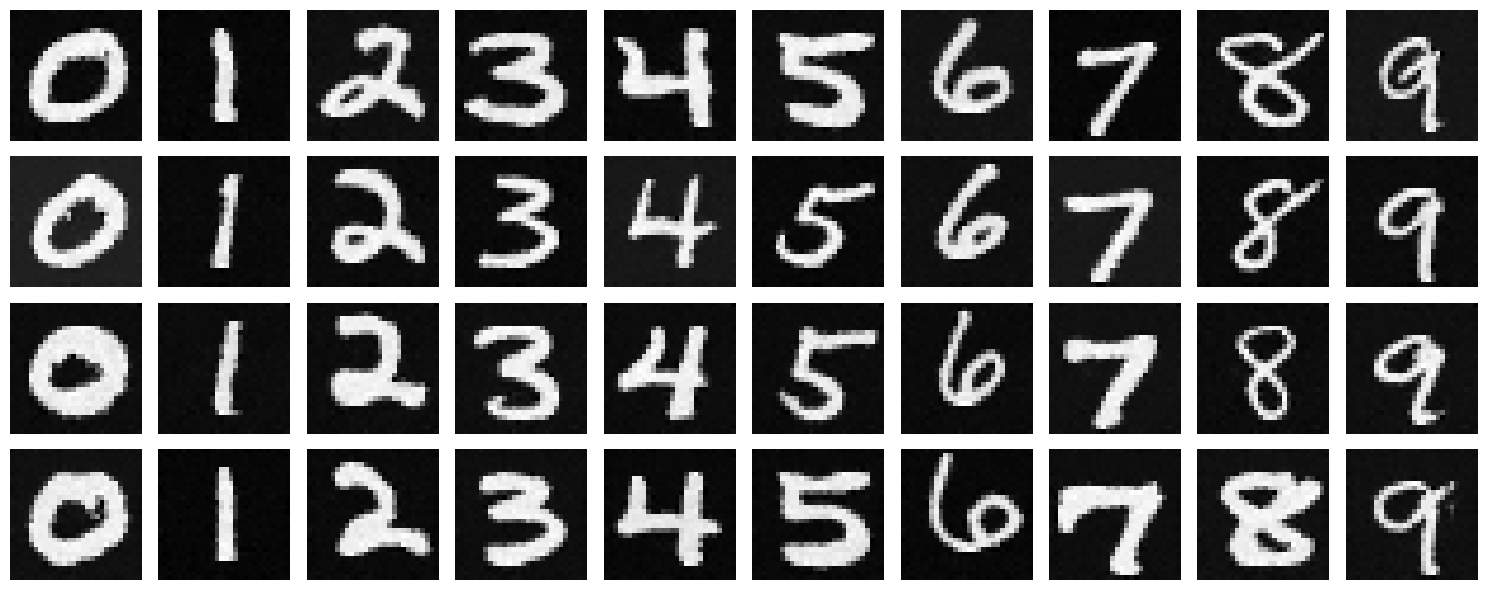
2.5 Sampling from the Class-Conditioned UNet
